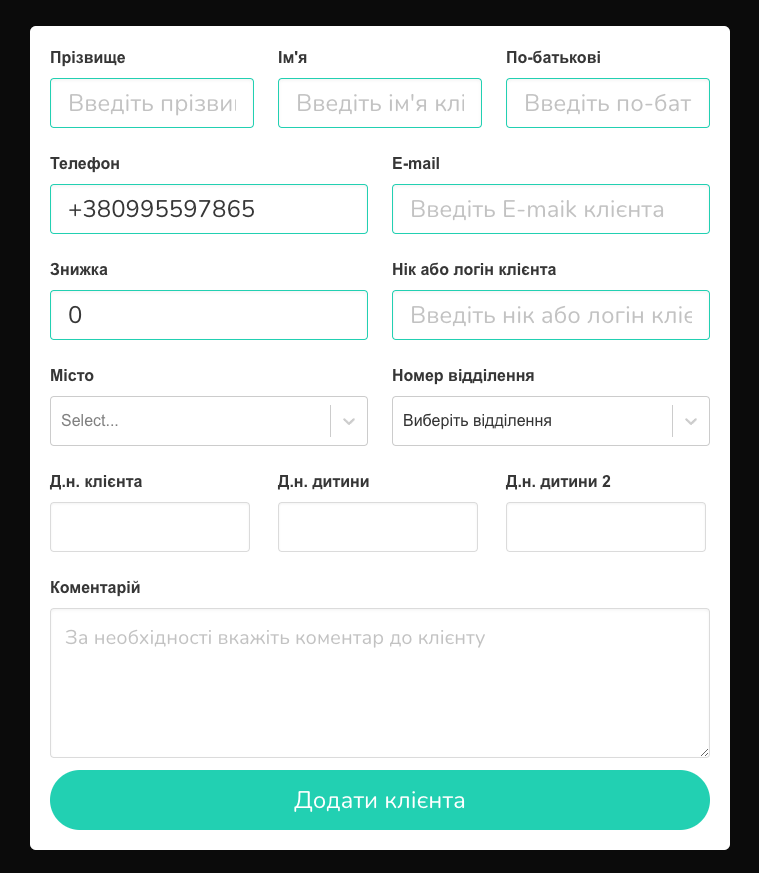
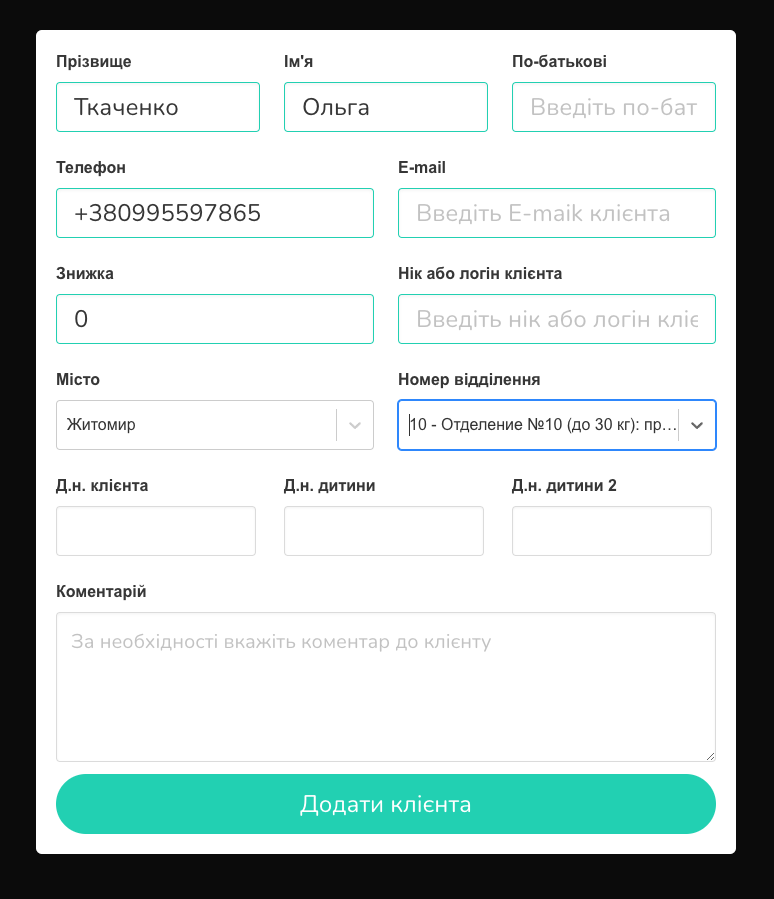
You can view the step-by-step process of adding a sale in the article Sale: Adding, Deleting, Editing. Here we will consider a separate point, how to independently create a TTN within our system in the case of a sale with the help of delivery (Screen 1).
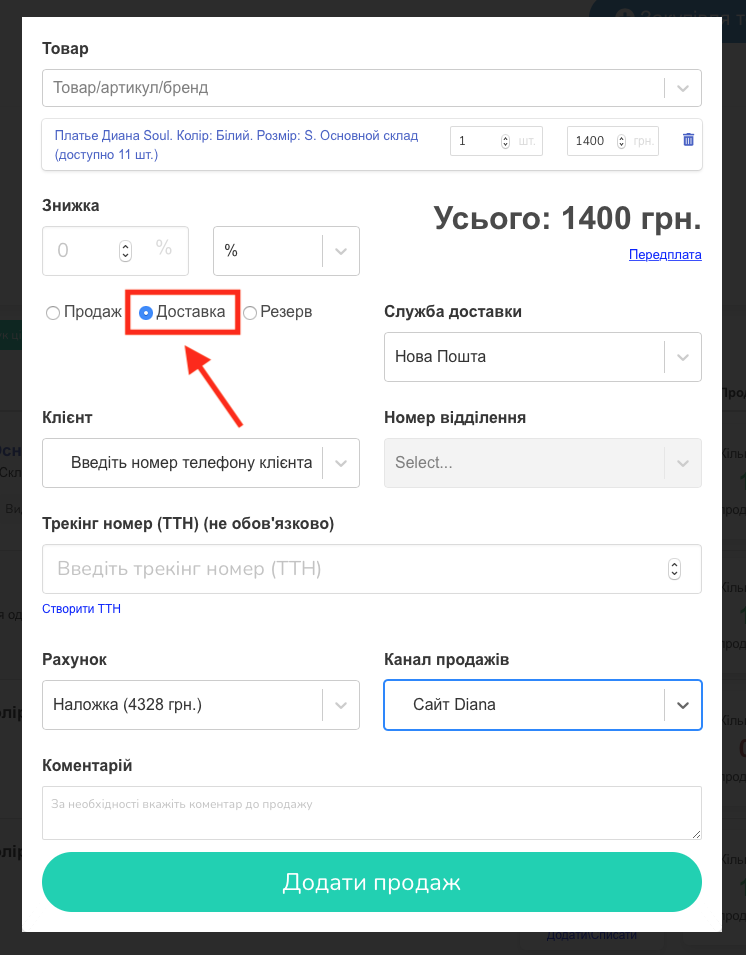
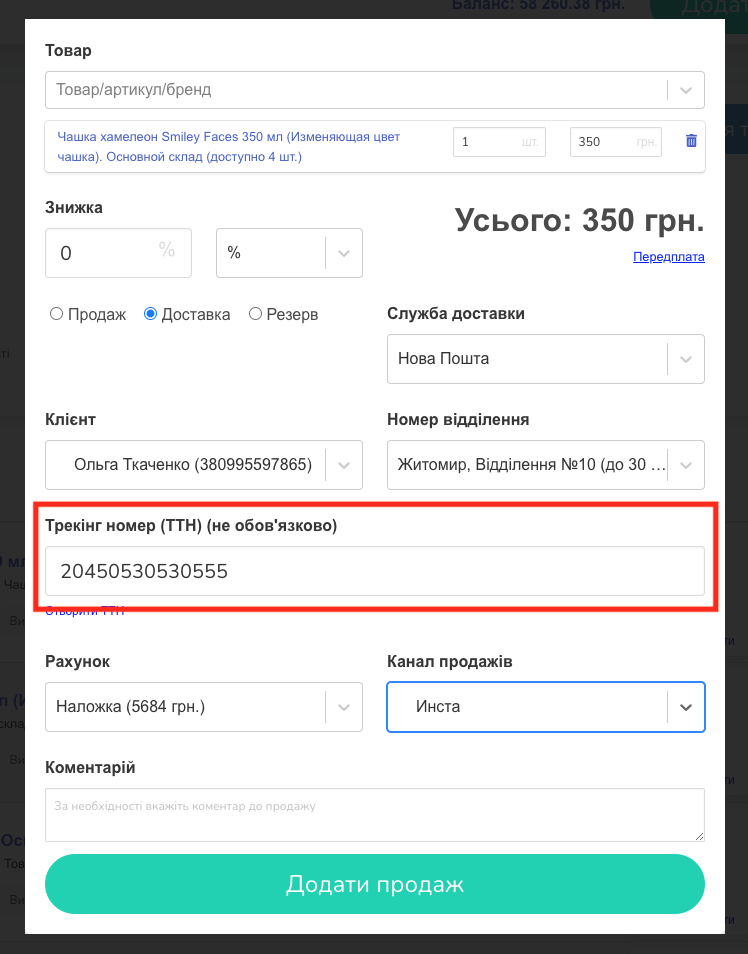
When selecting the “Delivery” option, several new items will be added to the modal window of the sale: (Boxes 2, 3).
- delivery service (Nova Poshta, Ukrposhta, Others);
- branch number (only for Nova Poshta) / info. for delivery (for Ukrposhta and other delivery services);
- a field for entering the TTN (if you have already created it yourself in the Nova Poshta application or in the applications of other delivery services);
- a link to create a TTN (only for Nova Poshta) within the service.
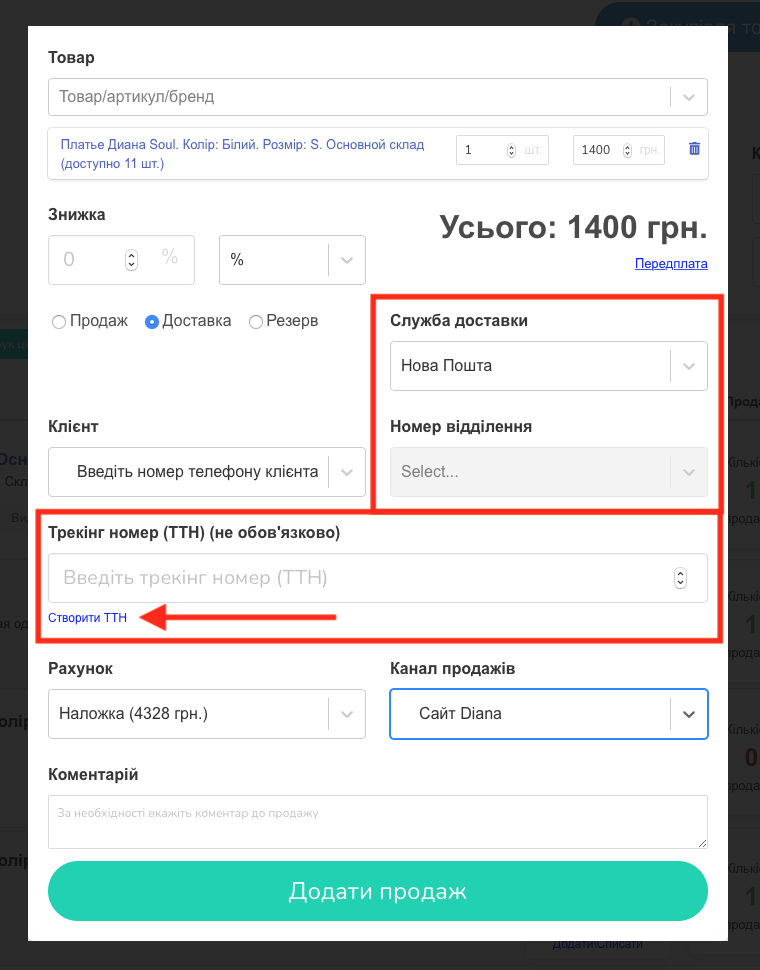
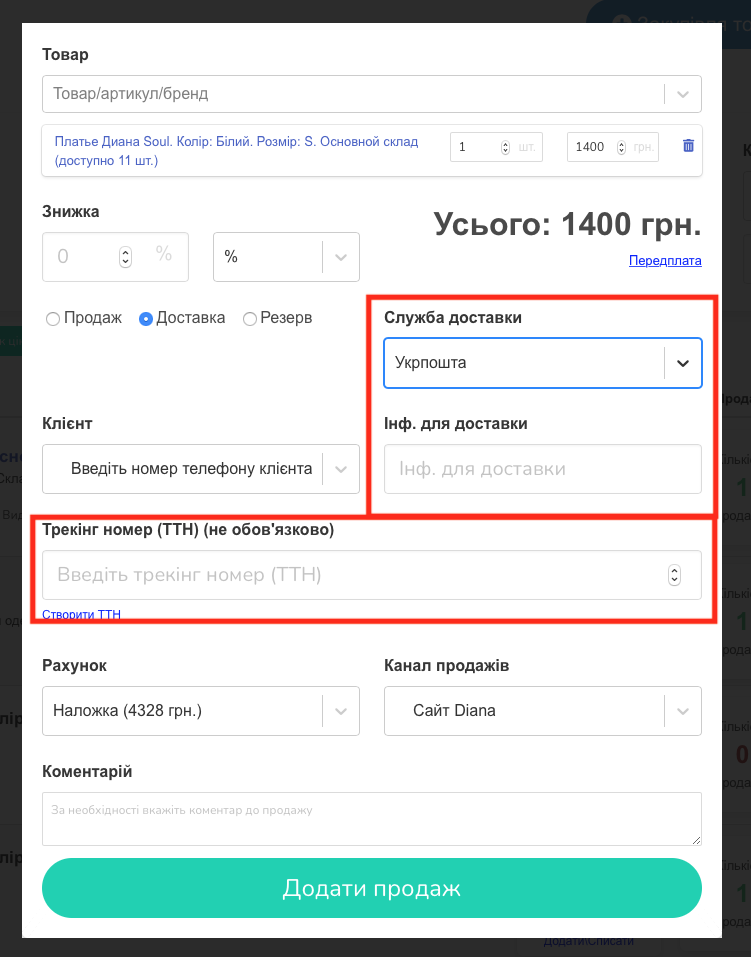
In order to create the TTN of Nova Poshta within the service, we will need this very link.
Importantly! We remind you that in order to be able to create TTN within the system, you need to go through the integration process with Nova Poshta (How to do it: Instructions).
So, click on the Create TTN link.
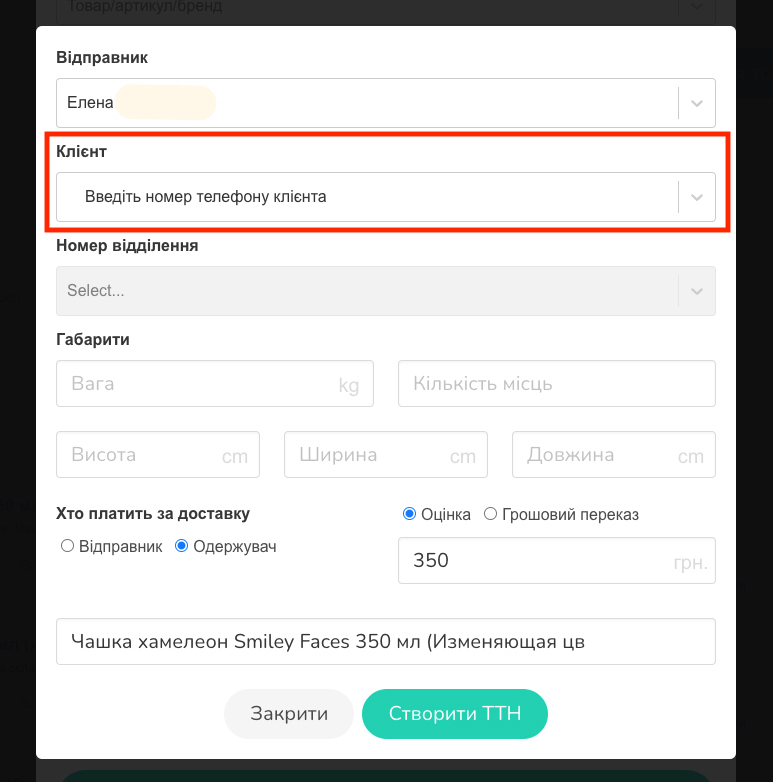
In the window that opens, you need to fill in several mandatory fields:
- Enter the client’s phone number (Screen 4, 5). When adding a number, a customer card will open for you, which must be filled out so that you can interact with Nova Poshta) (Add Screens A, B). If it is a regular customer, you can immediately select it from the drop-down list (Screen 6).
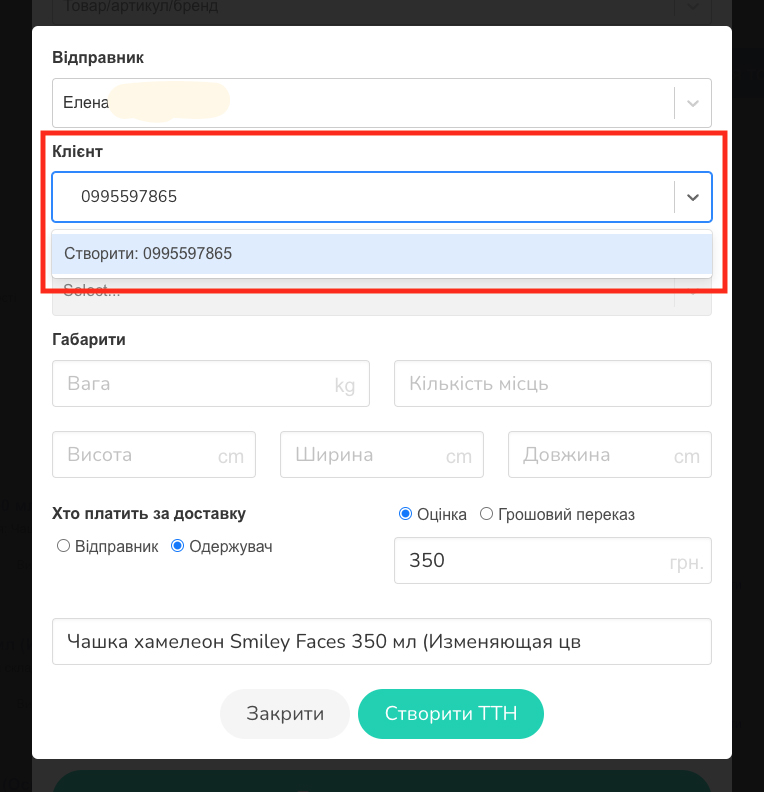
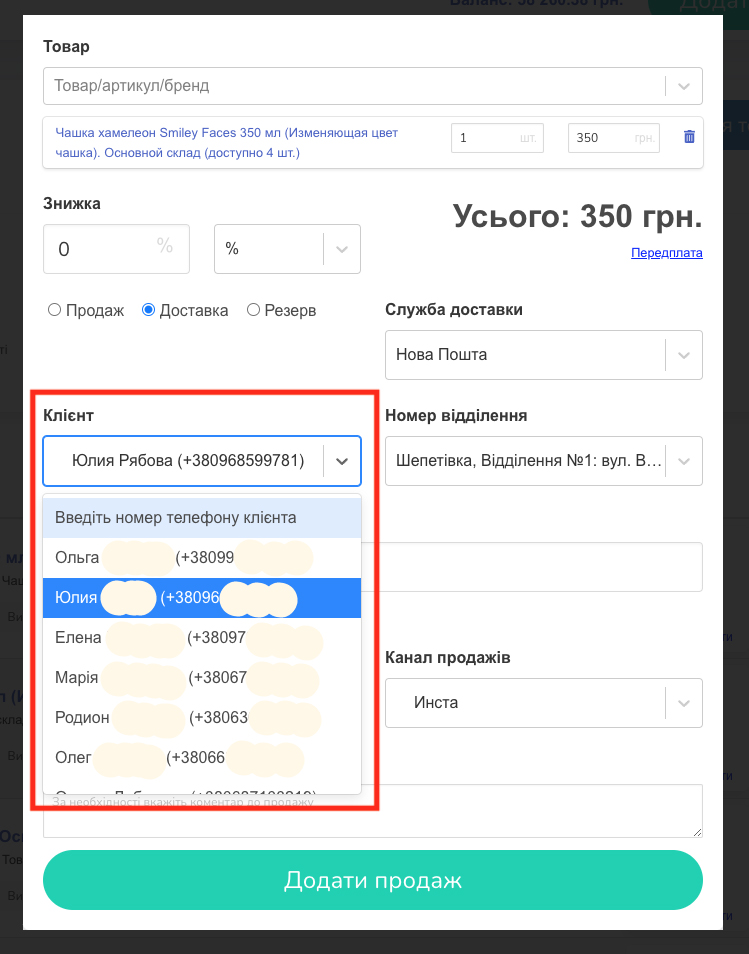
- After that, you will receive the address data for sending, which you entered in the client’s card (Screen 7).
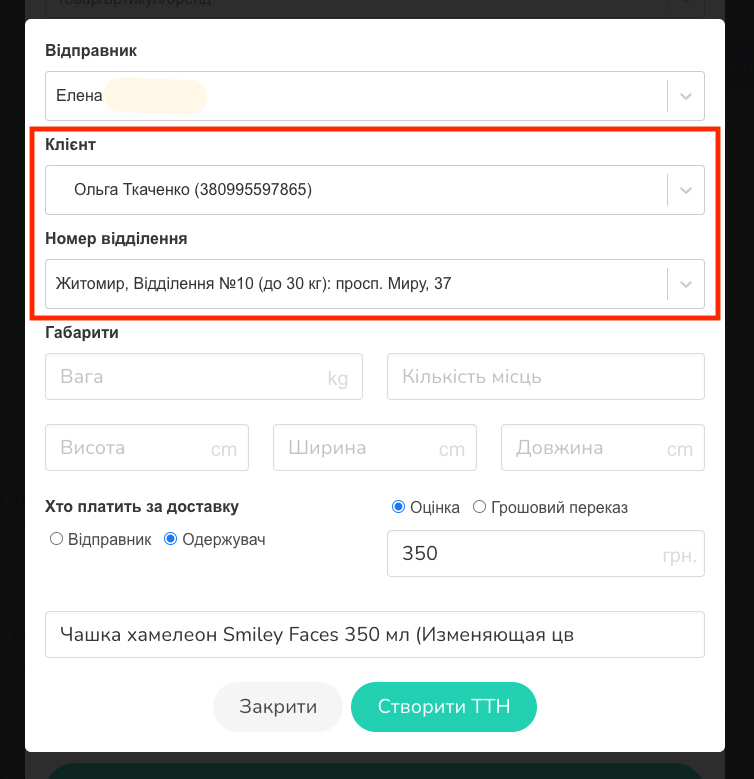
- Then you need to specify the “Dimensions” of the parcel to be sent, as well as the “Number of places” that the parcel will occupy (one packing place, two, three) (Screen 8).
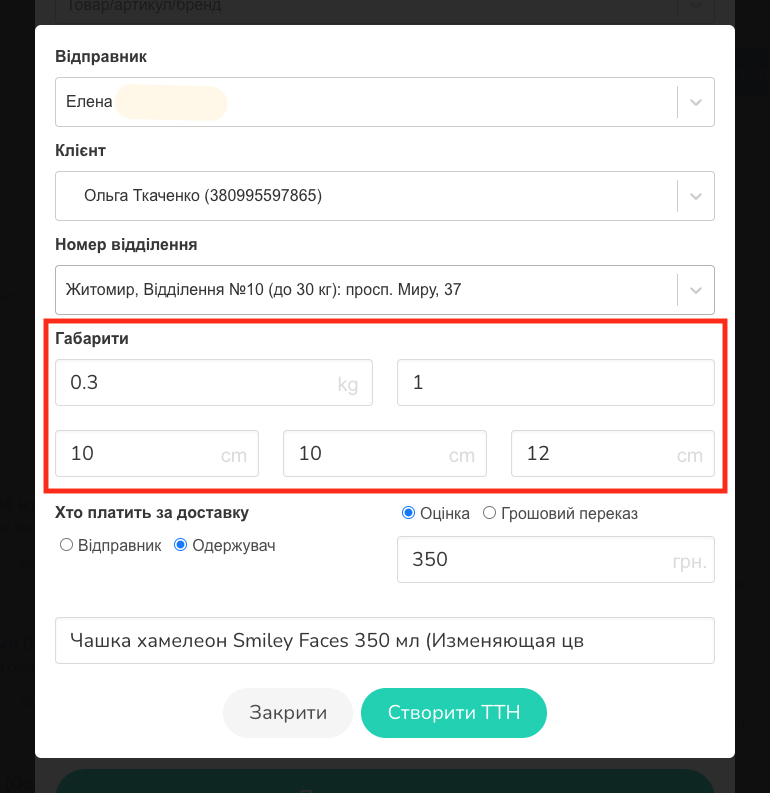
- Next, you should indicate who pays for the delivery, the Sender or the Recipient, and select the item “Estimation” if the goods have already been paid for, or “Money transfer” if you expect a return money transfer (don’t forget to specify the exact amount after payment) (Screen 9) .
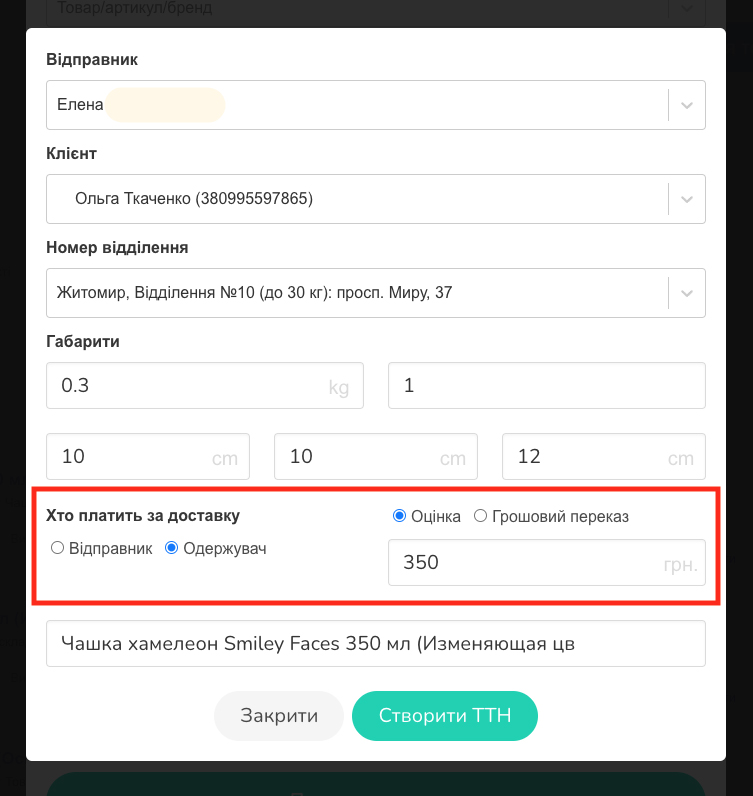
When all the fields are filled in, click the Create TTN button.
A tracking number has been created and added to your sale! (Screen 9).
Add. Screens
