Vchasno only fiscalizes Ukrainian hryvnias (UAH) on the cash register
- Step 1.
- Step 2.
- Step 3.
- Step 4.
- Step 5.
- How to use?
- Fiscalization after payment
- Fiscalization of Advance Payment
Step 1.
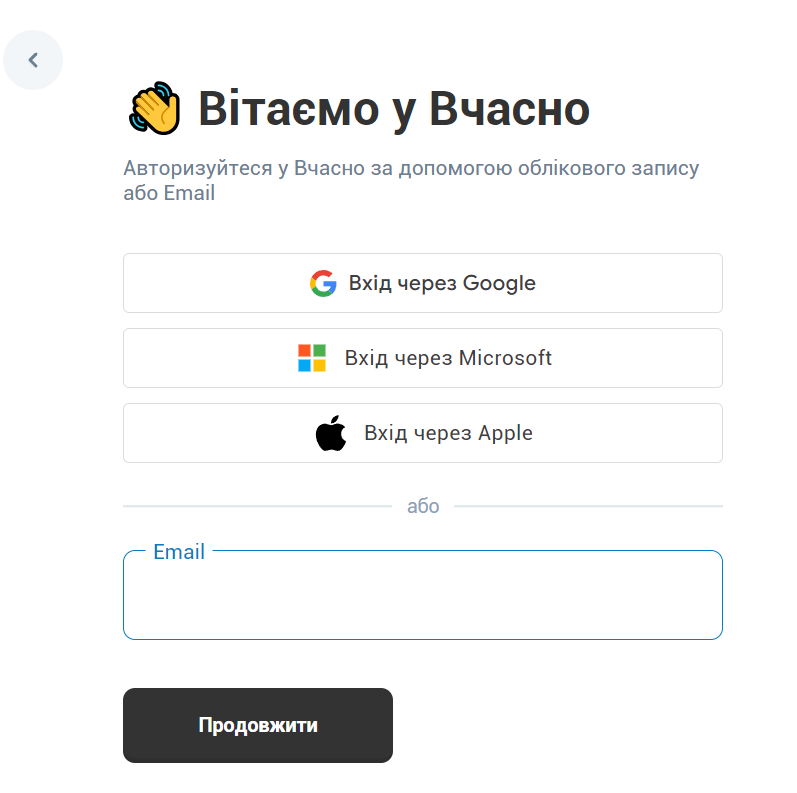
To integrate with the PRRO (programmatic cash register) Vchasno Cash, you need to register on the website kasa.vchasno.ua.
Step 2.
Next, you need to follow the instructions on the website and complete all the steps to configure the service, namely:
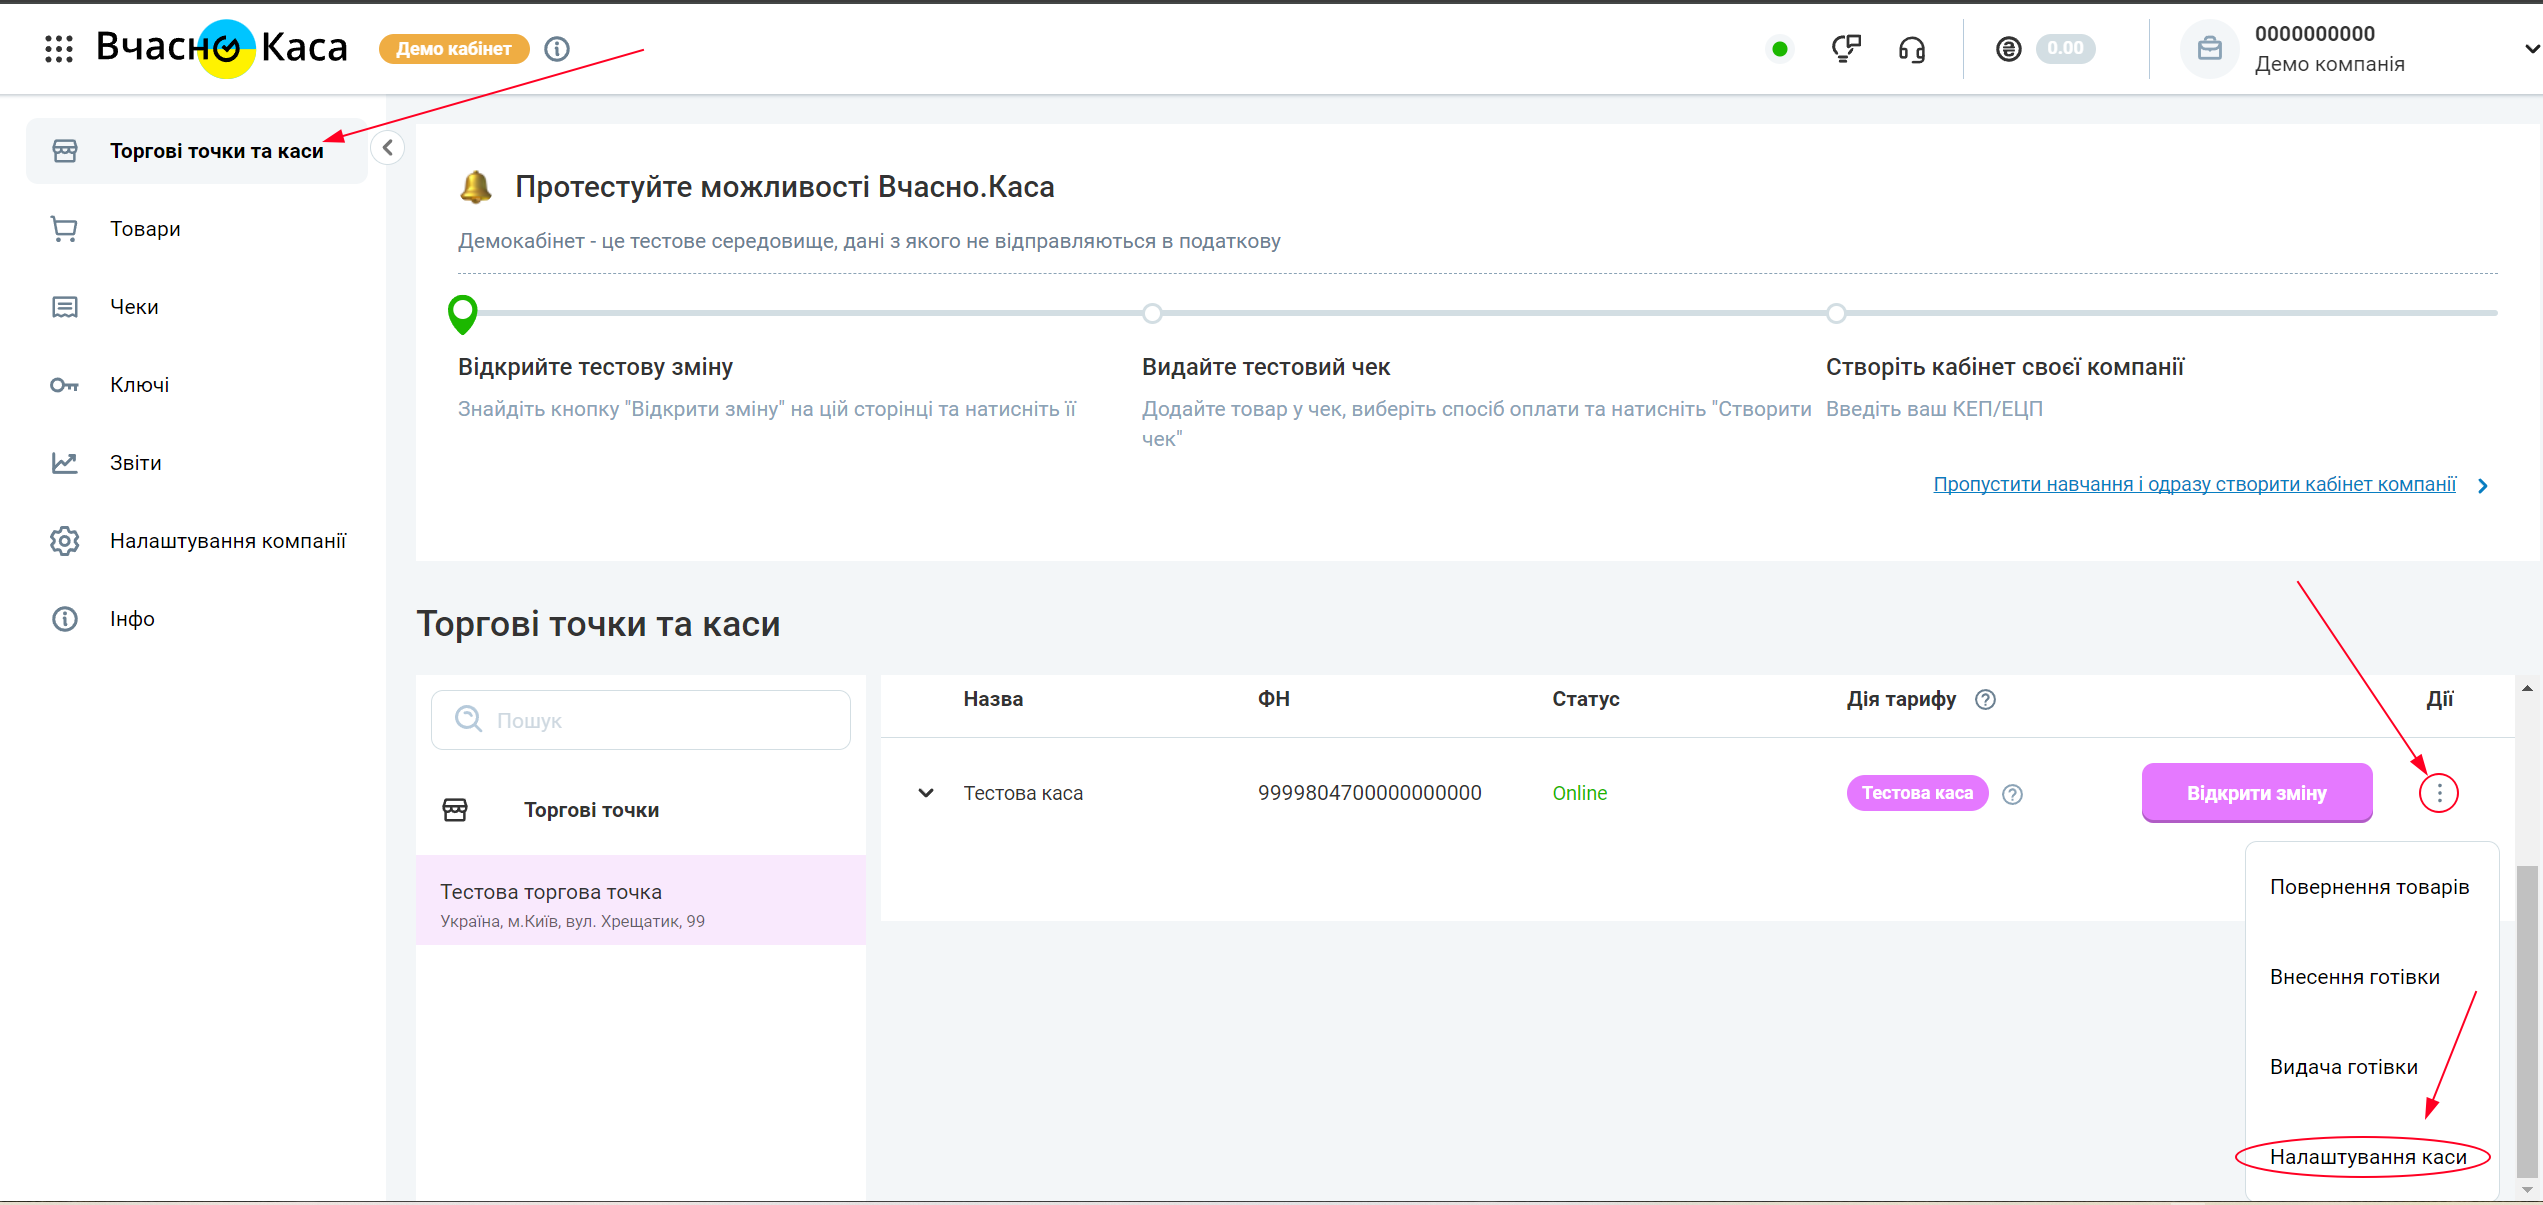
Step 3.
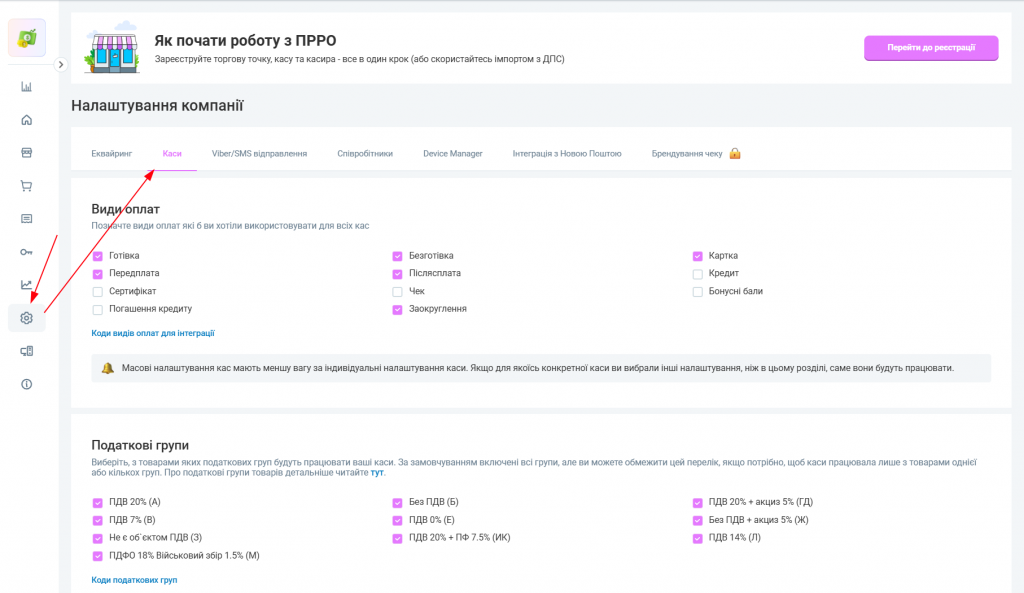
Go to the Cash Settings
Make sure to set the switch in the Settings to Automatically close shifts after the end of your work.
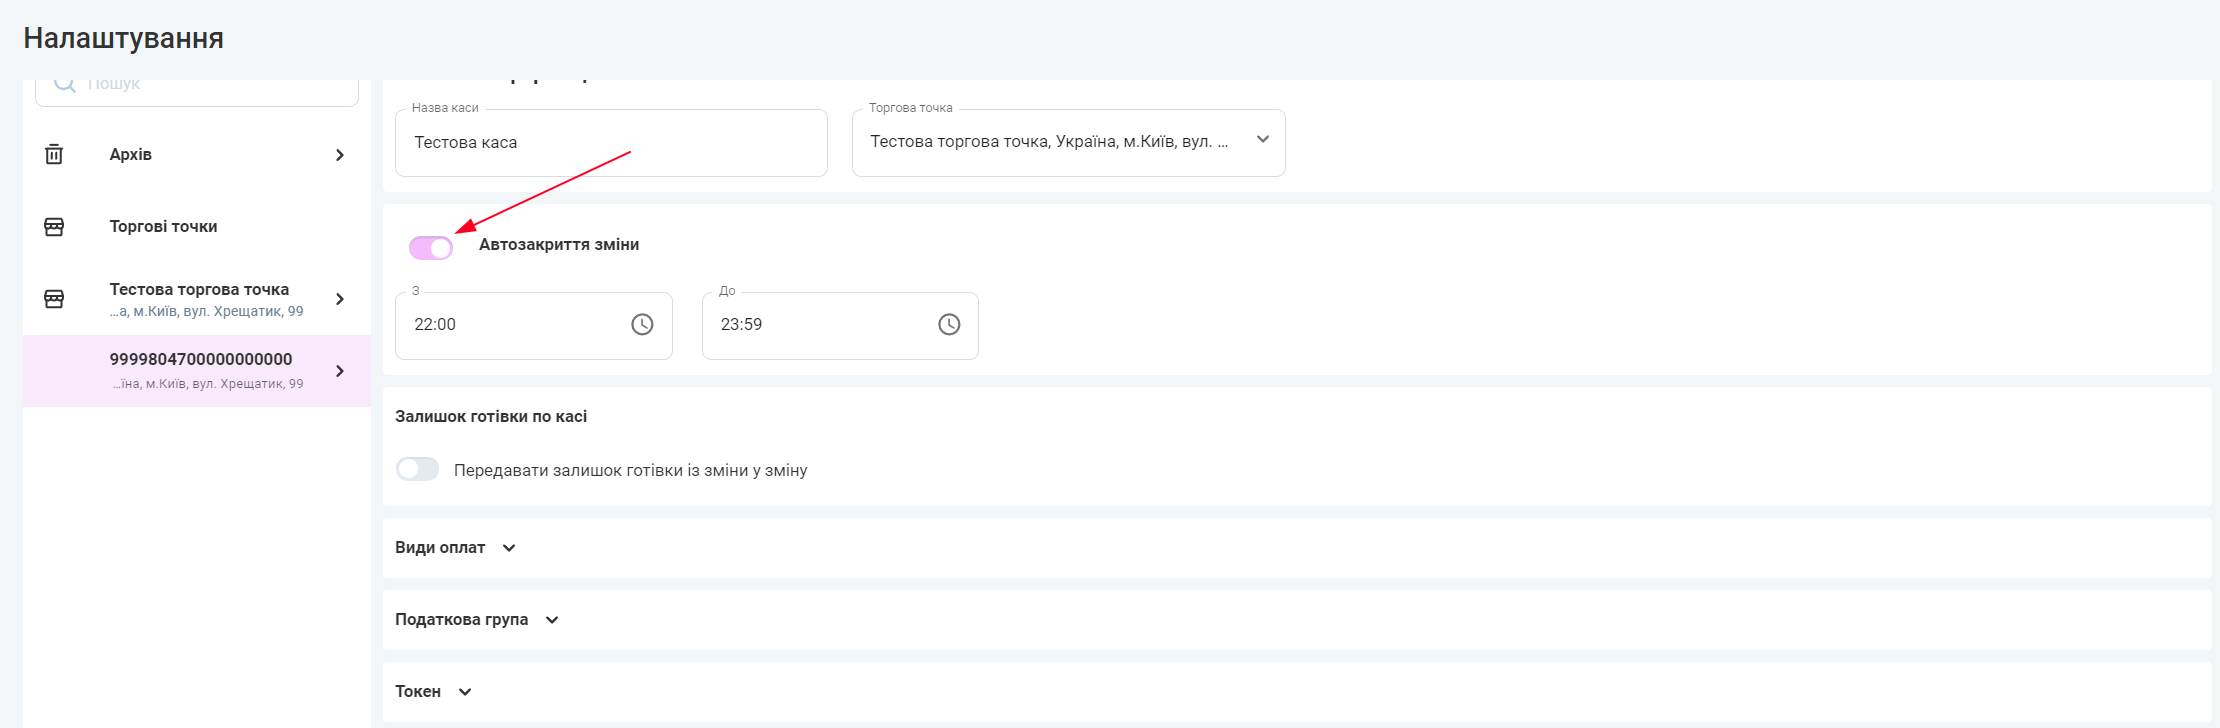
You do not need to open a shift in Vchasno Cash. The shift will be opened automatically upon the first sale in the Huge Profit system.
Choose payment types and tax groups.
Cash, Non-cash, Rounding, and Card must be enabled definitely.
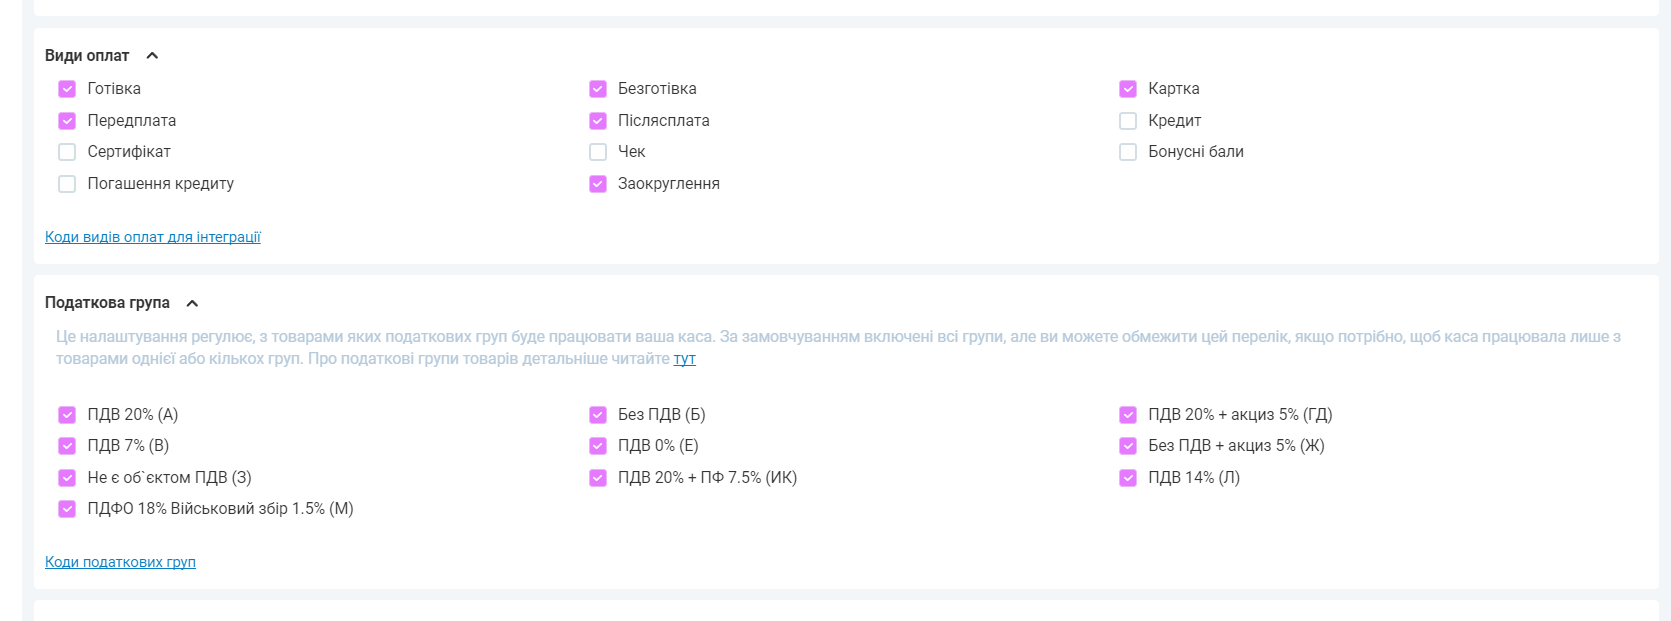
These checkboxes are also available in the general company settings, but cash register settings have higher priority:
Generate a Token. Copy and save it because after refreshing the page, it will no longer be displayed, and you will only be able to regenerate a new one.

Step 4.
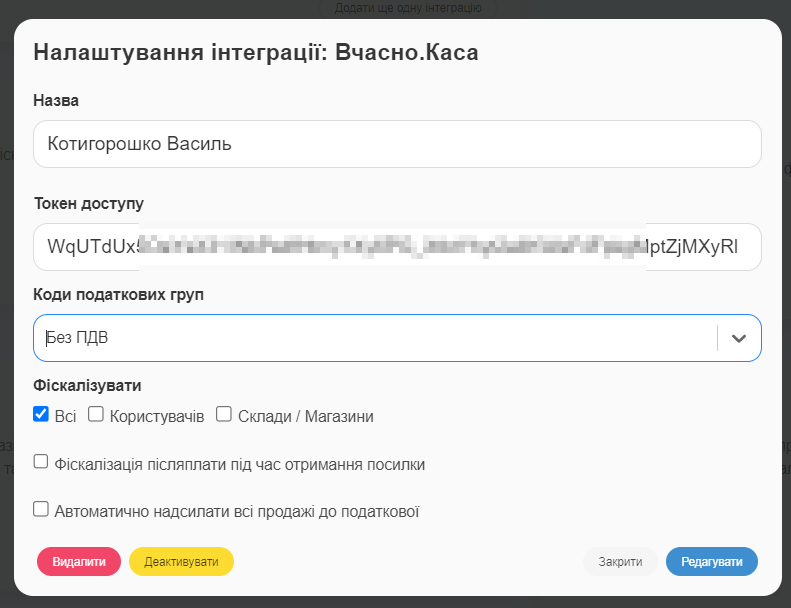
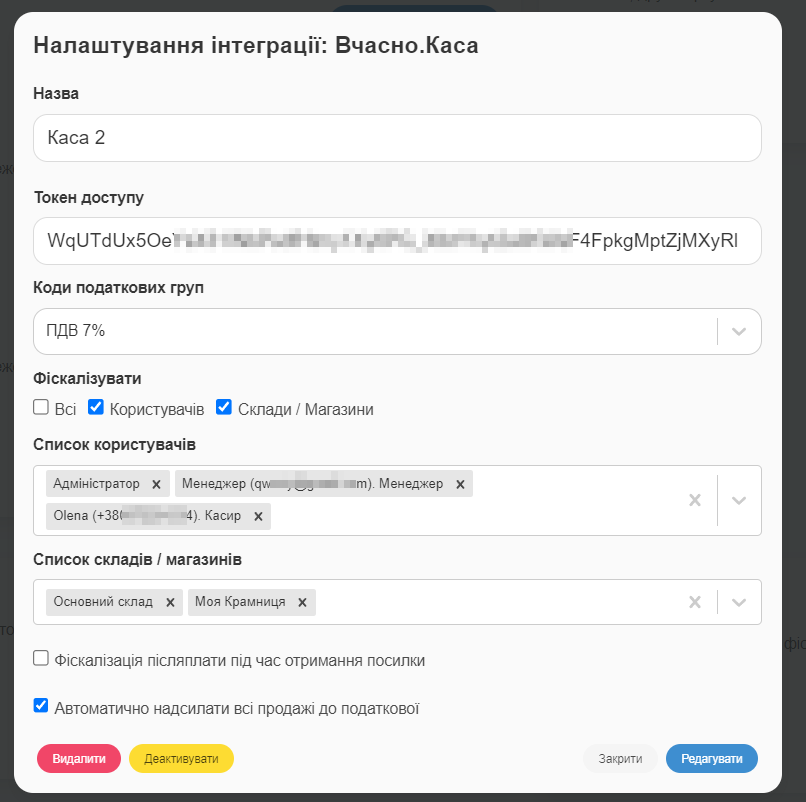
Integration Settings.
- The name must be unique compared to other integrations.
- You need to take the saved Access Token and fill it in the corresponding field.
- Only one tax rate can be active in integration settings at a time, but you can switch it from a dropdown list if necessary. Already fiscalized receipts will not change. The settings apply to future receipts.
The price in Huge Profit must already include the tax rate, and the receipt will indicate the exact tax amount. - In the integration settings, you can flexibly specify who to fiscalize (Warehouse/store, users like seller or cashier). You can specify how to fiscalize cash on delivery, either cash or non-cash.
- If you want every sale you add to be automatically sent to the tax office, check the box Automatically send all sales to the tax office. If this box is not checked, you will be prompted to send the sale to the tax office after adding the sale. This way, you can control which receipts to fiscalize and which not.
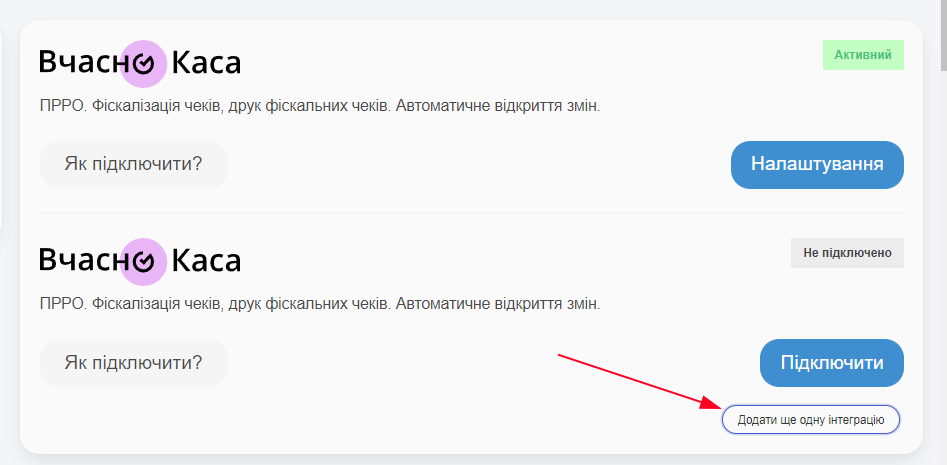
After creating the integration, it can be edited, and new ones can be added with different settings
Important! Integrations with the same settings cannot be created.
If “Fiscalize All” is selected on the first integration, then during automatic fiscalization, all receipts will be fiscalized here, and the other integrations will not process them. Therefore, it is important not to forget to set up what you want to fiscalize with each integration. Automatic fiscalization happens if:
the warehouse fits, the cashier fits, the account fits. That is, you can set it up so that only a specific account is automatically fiscalized, and another account will not be, even during Automatic Fiscalization (Step 5).
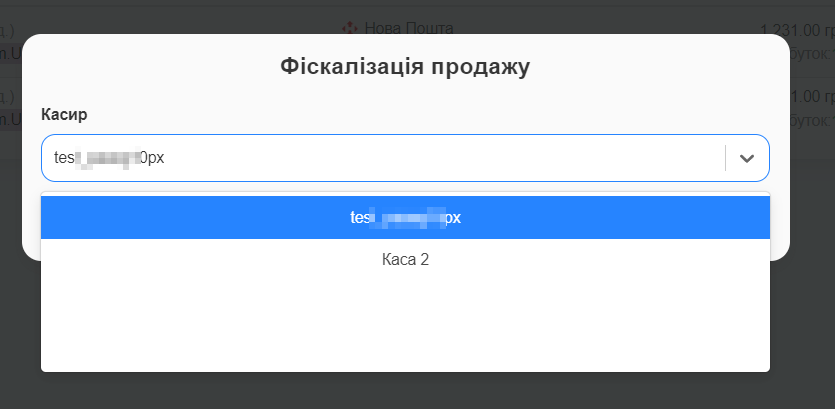
During manual fiscalization, the system also checks which Cash Register fits and prompts you to choose one.
Step 5.
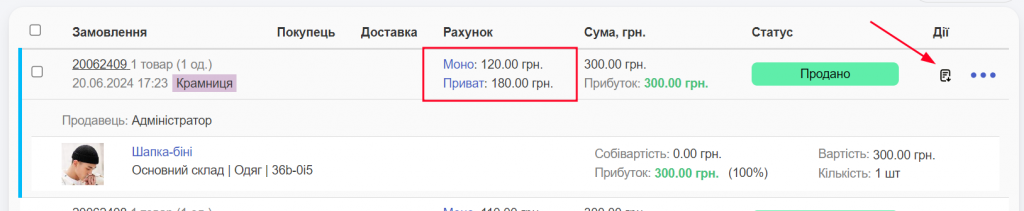
Next, you need to specify which sales should be fiscalized (sent to the tax office) outside the Settings menu. For example, sales for which you will receive money to IBAN accounts do NOT require fiscalization, but sales paid by credit card or cash require mandatory fiscalization. For more details at the tax office link: (https://zir.tax.gov.ua/main/bz/view/?src=ques&id=30163)
For this, on the main dashboard in the section with your accounts, click the Edit button next to the relevant account. Then check the box in the section Fiscalize sales (send to the tax office).

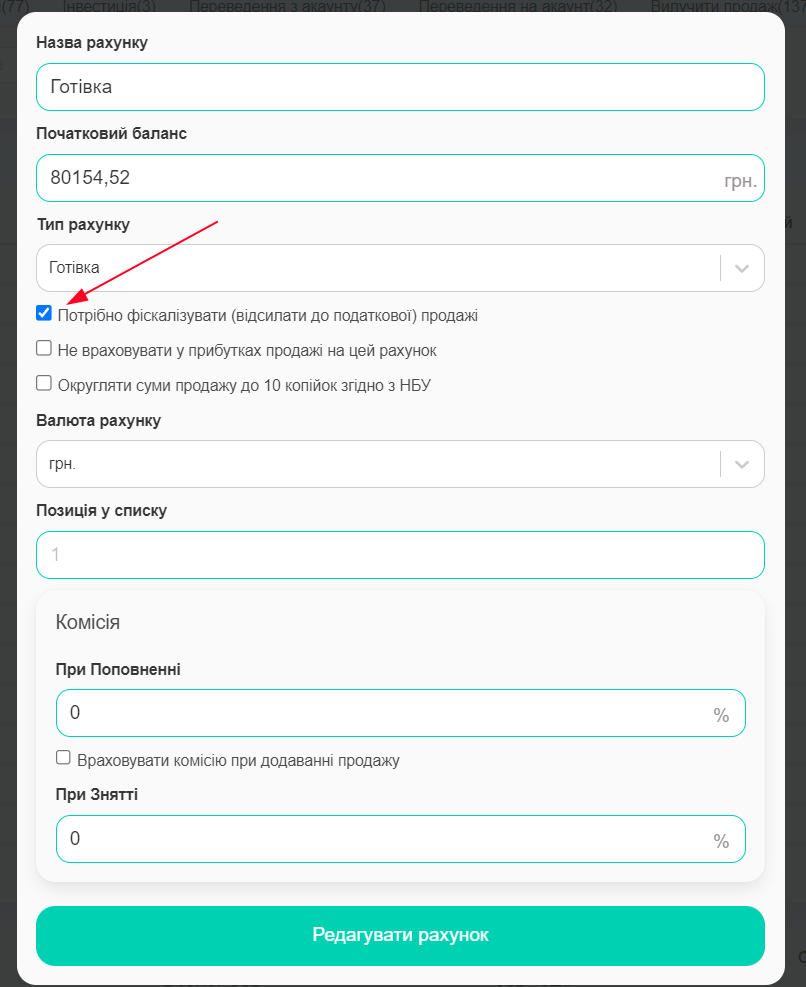
If you don’t need to fiscalize the account during Automatic Fiscalization, don’t check this box for the relevant account.
This concludes the setup.
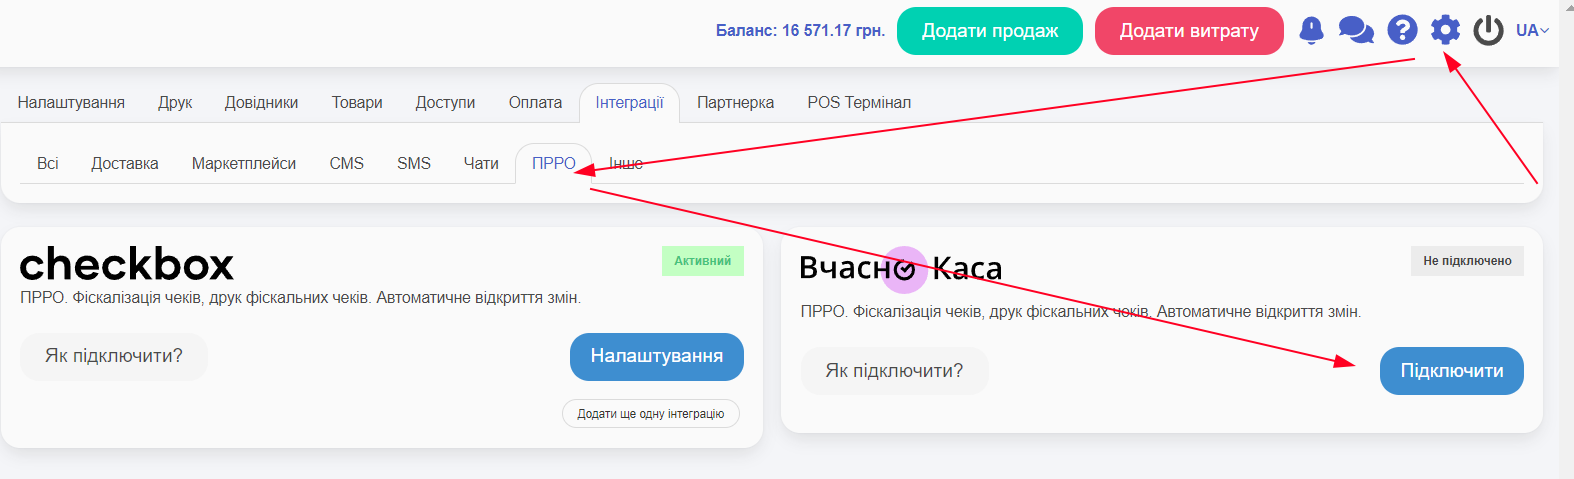
How to use?
If you checked the box Automatically send all sales to the tax office, then when adding sales to those accounts where you activated fiscalization, all sales will automatically be sent to the tax office.
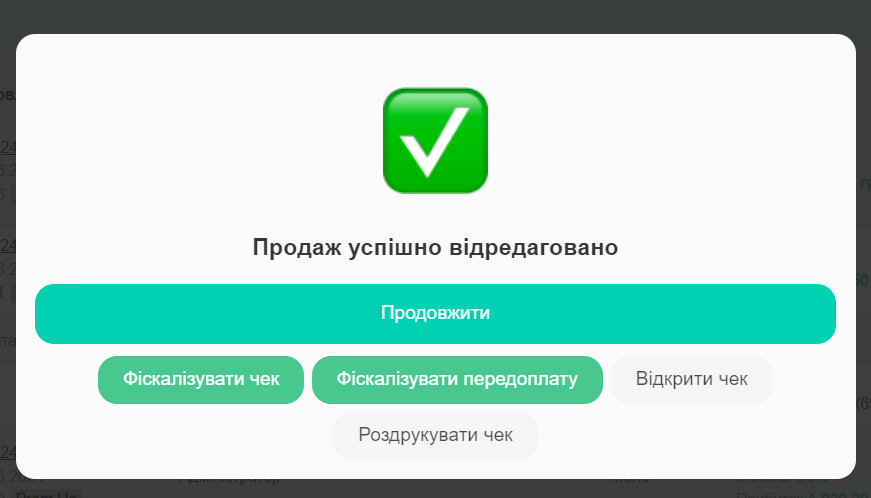
If you did not check the box for automatic sending to the tax office, after adding a sale, you will have the opportunity to manually fiscalize the receipt.

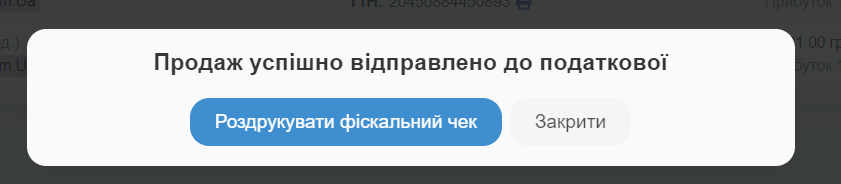
After adding the sale and fiscalizing the receipt, you will be able to print the fiscal receipt immediately:
If you specified a client with a phone number in their details during the sale, they will automatically receive an SMS with the fiscal receipt.
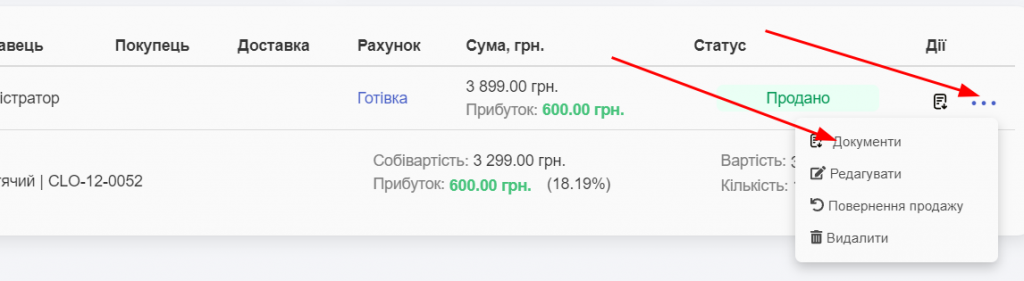
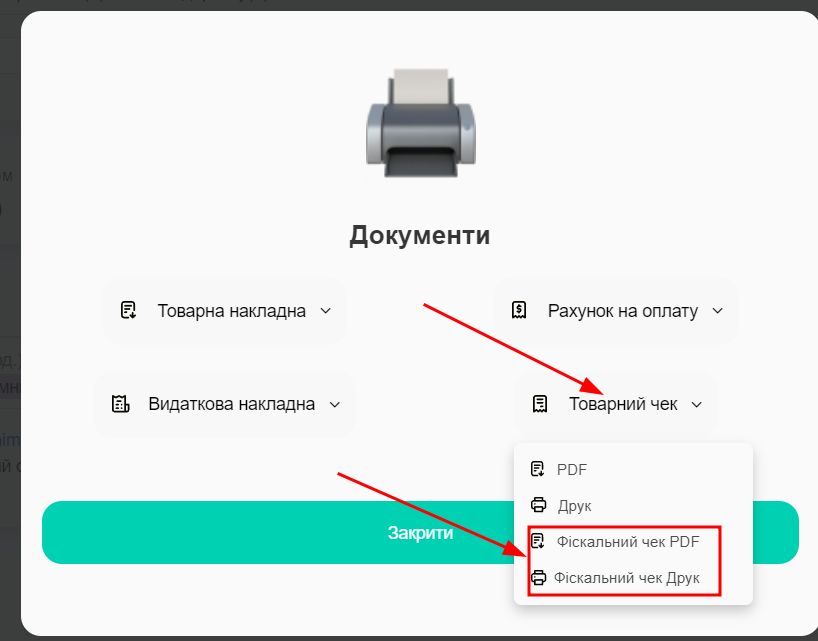
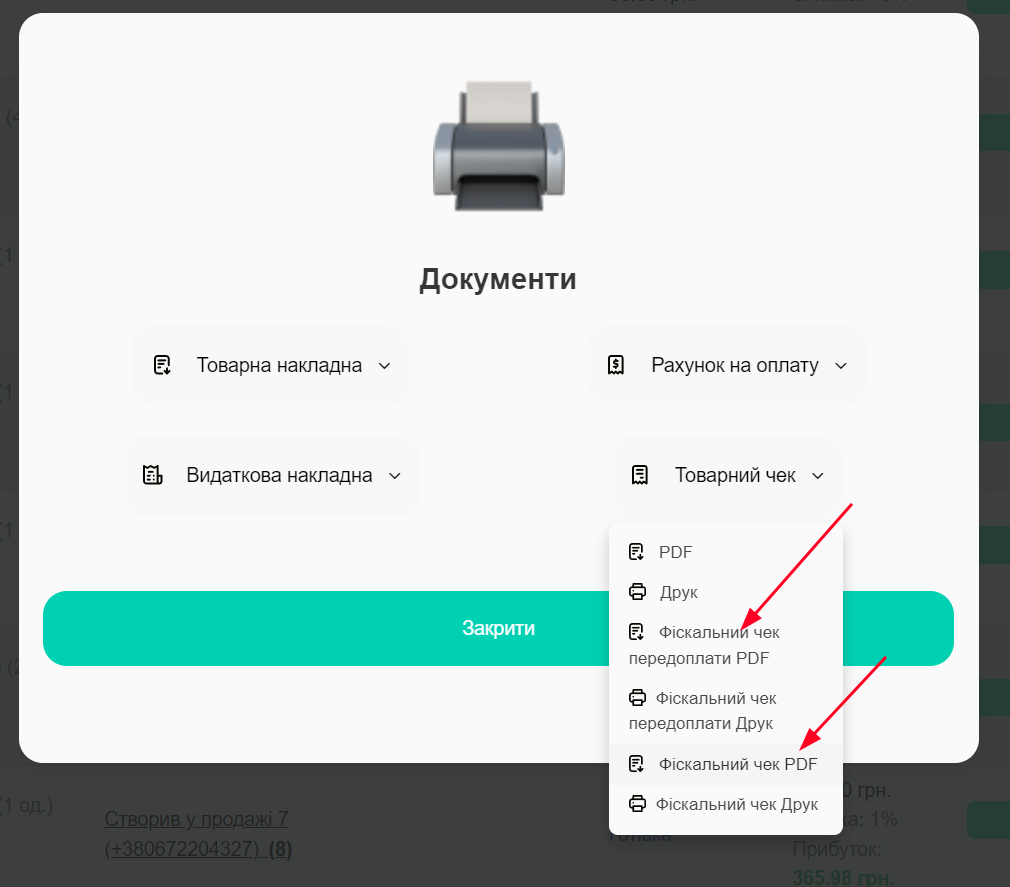
You can also print the receipt from the sales list in the Sales section -> “three dots” -> Documents.
Editing the fiscal sale will cancel the sale, and if automatic fiscalization is enabled, a new fiscal receipt will be created immediately. If manual fiscalization is set, it will be canceled, and you will need to click Fiscalize again. If the fiscalize checkbox is not set for the account (Step 5)., the receipt will not return; you will need to return it in the Timely Cash Register.
Returning a receipt through the Timely Cash Register is not reflected in the system. You need to edit the sale and, if necessary, fiscalize again.
Fixed and percentage discounts on individual items are passed to the Timely Cash Register.
Fiscalization after payment
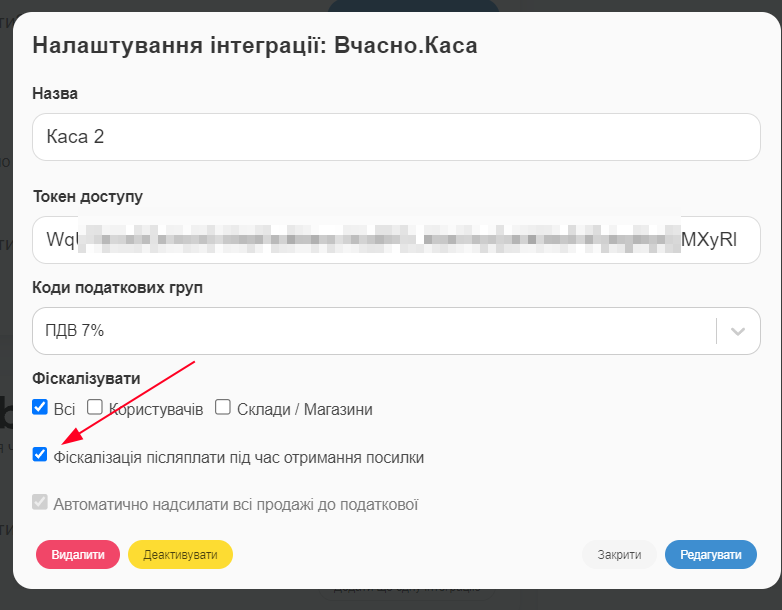
Post-payment is automatically fiscalized when the customer picks up the package (when automatically moved to the Picked-up status using TTN), i.e., for example, if you don’t want to fiscalize in advance, check this box. At the moment the product is picked up and the post-payment is made, the sale will be fiscalized for the entire receipt amount within a few minutes.
It is important to specify the Post-payment account so the system recognizes the payment as post-payment. If you specify any other account, the system will consider it as a payment already received and will proceed with fiscalization.
Also, when the “Fiscalize post-payment” box is checked, all other accounts will also be automatically fiscalized. If some of them do not need to be automatically fiscalized, remember that in the account settings, you can uncheck the option to send to the tax office. Such an account can still be manually fiscalized if desired.
When editing the sale, post-payment receipts can also be returned by choice.
Prepayment Fiscalization
1. With the “Not Paid” account
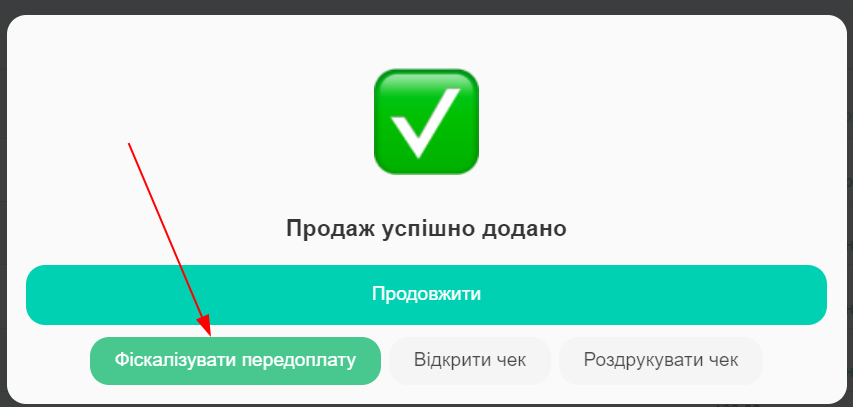
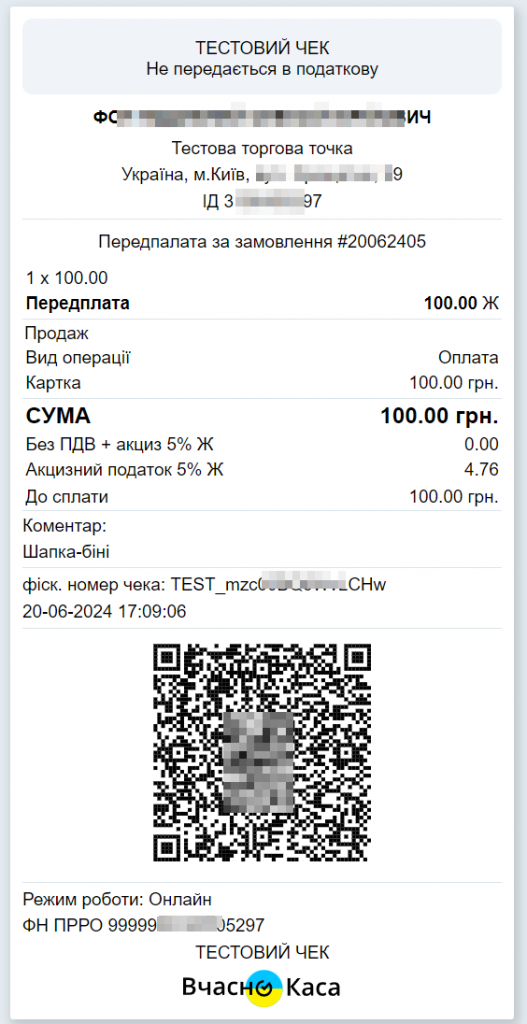
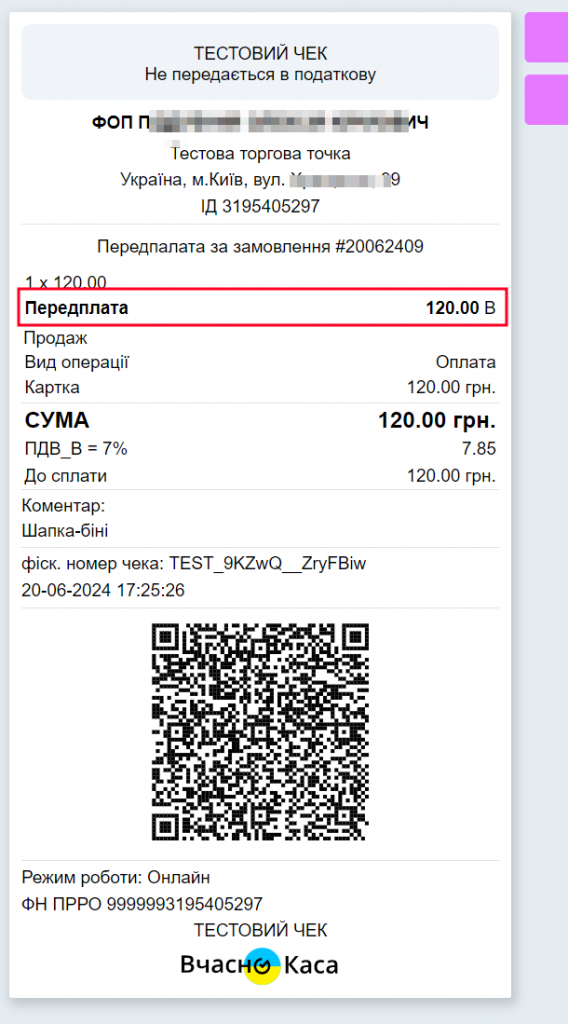
When setting up prepayment, the “Not Paid” account is immediately selected (this system account is not fiscalized), if you leave it like this, the system will suggest fiscalizing the prepayment.
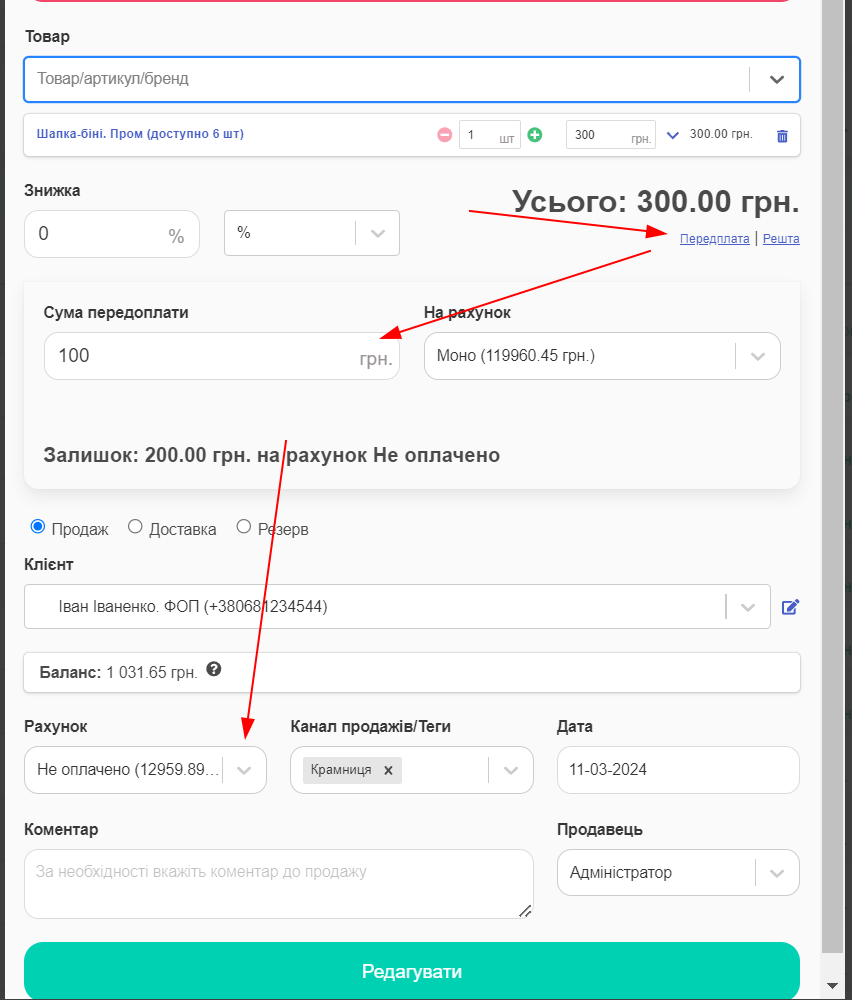
or like this
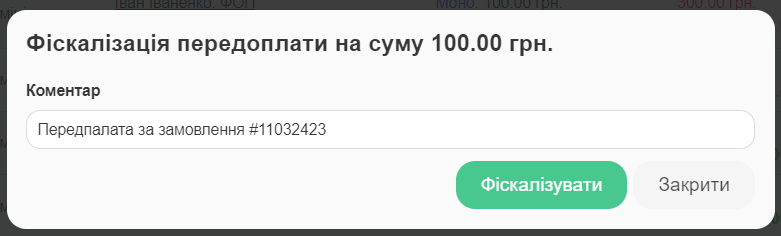
You can change the comment that will be recorded on the receipt.

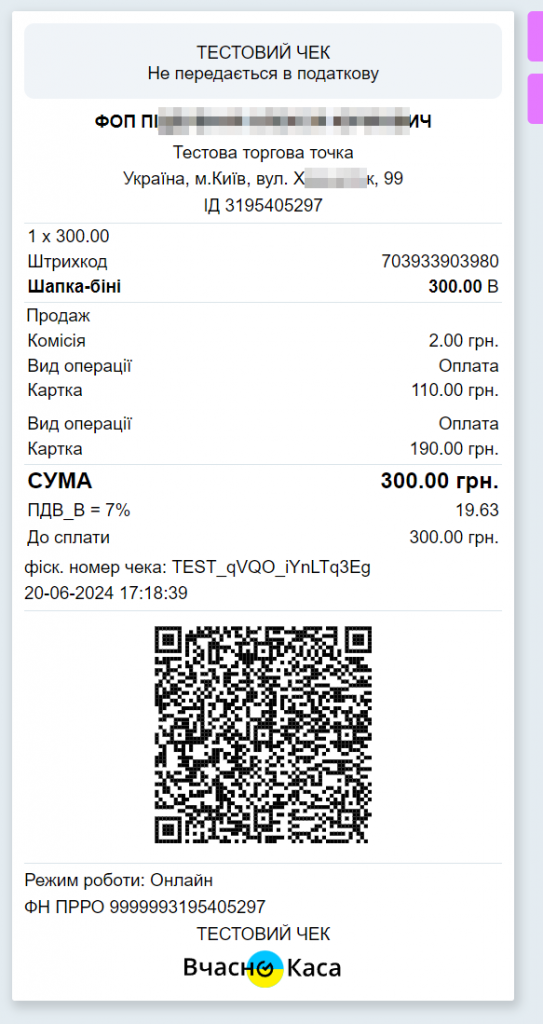
2. With other accounts in one receipt.
You can immediately change the account from “Not Paid” to any other. Then, the system will also offer to fiscalize the prepayment or fiscalize the entire receipt.

3. Two separate receipts
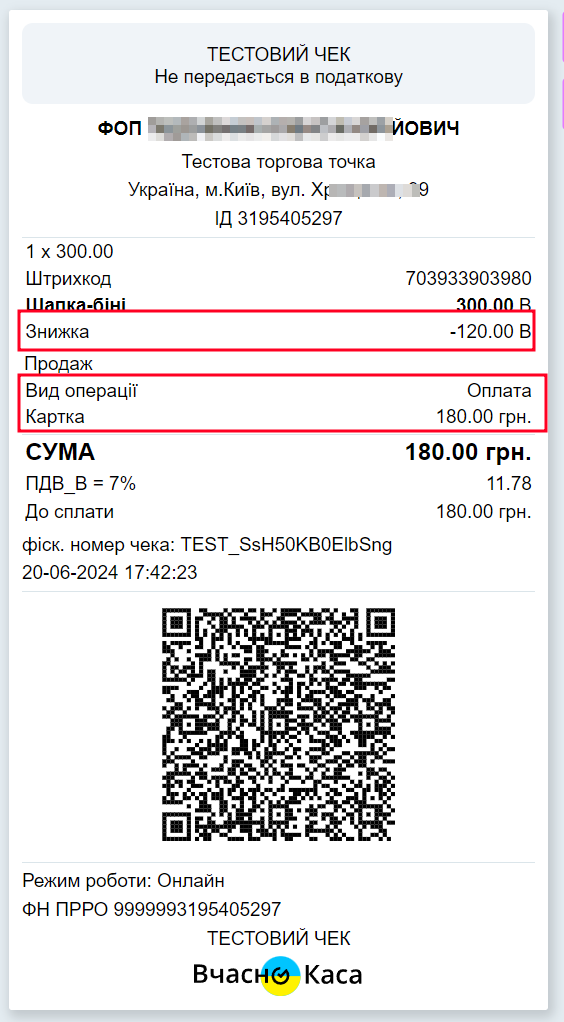
If you first fiscalize the prepayment separately, it will be partially fiscalized. Then you can fiscalize the remaining balance.
In such a receipt, it will also be noted that this is the deduction of the prepayment (specifically the discount according to the Vchasno Kassa rules), which was fiscalized by another receipt and will not be fiscalized again in this case.
You can print both receipts separately.
Prepayment is not canceled. It needs to be returned in the Vchasno Kassa system.
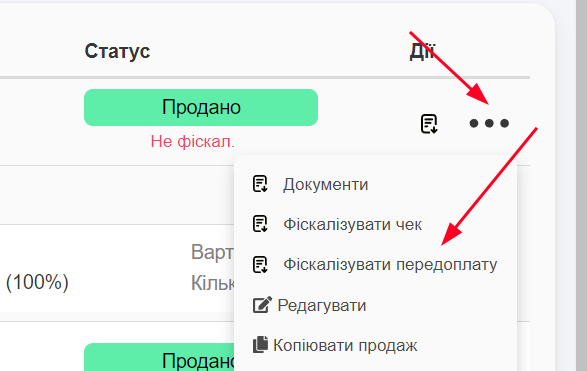
Then, if necessary, it can be fiscalized again. The prepayment fiscalization button is available whenever editing a product. However, in the final receipt, there can only be one prepayment. Therefore, previous ones need to be canceled.
If you have any questions, feel free to contact our support, and we will be happy to help!