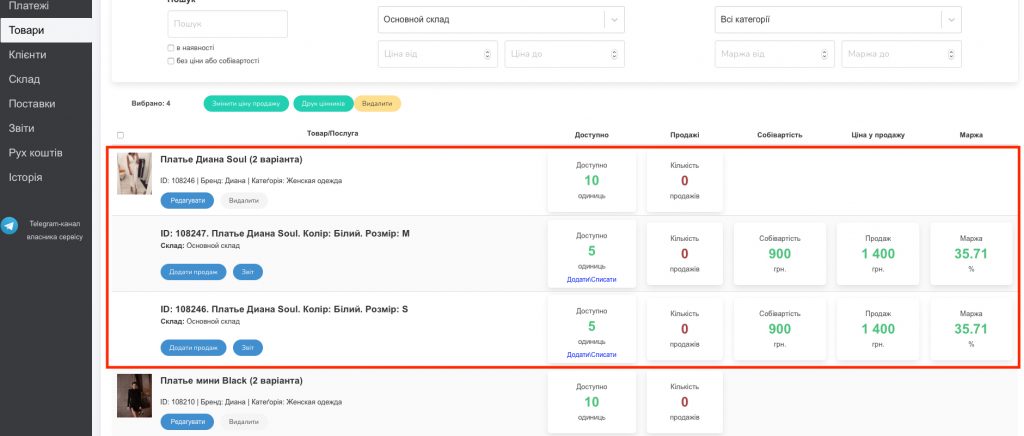
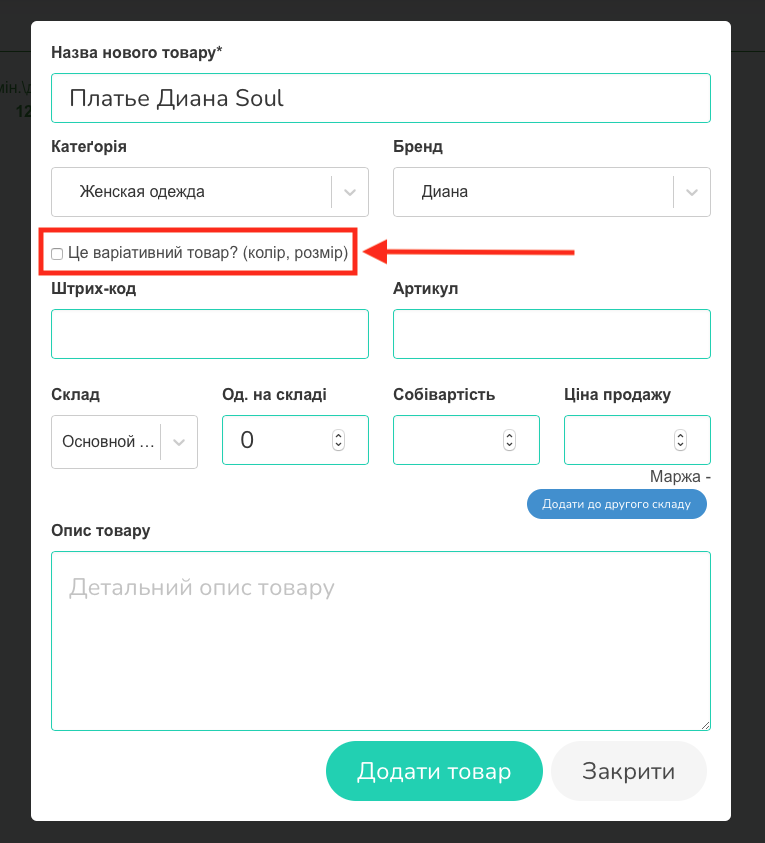
After you have selected the “Add product” option, a new product filling card window will open. You must fill in the “Product Name” field. Next, you need to check the box next to the question “Is this a variant product?” (Screen 1).
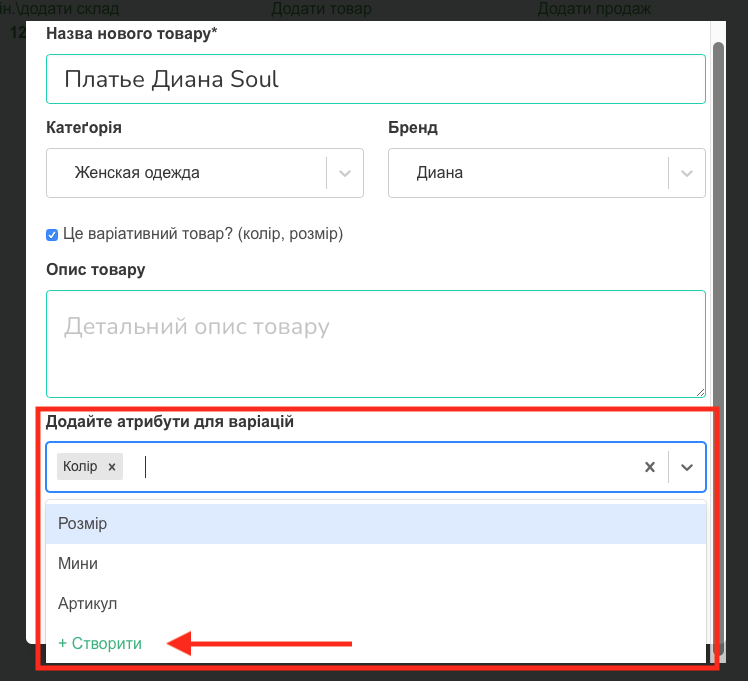
After that, another window will open in which you can select the necessary product attributes (Screen 2).

You can select the attributes you have already created from the drop-down list or create a new attribute you need if it is not in the list (Screen 3).
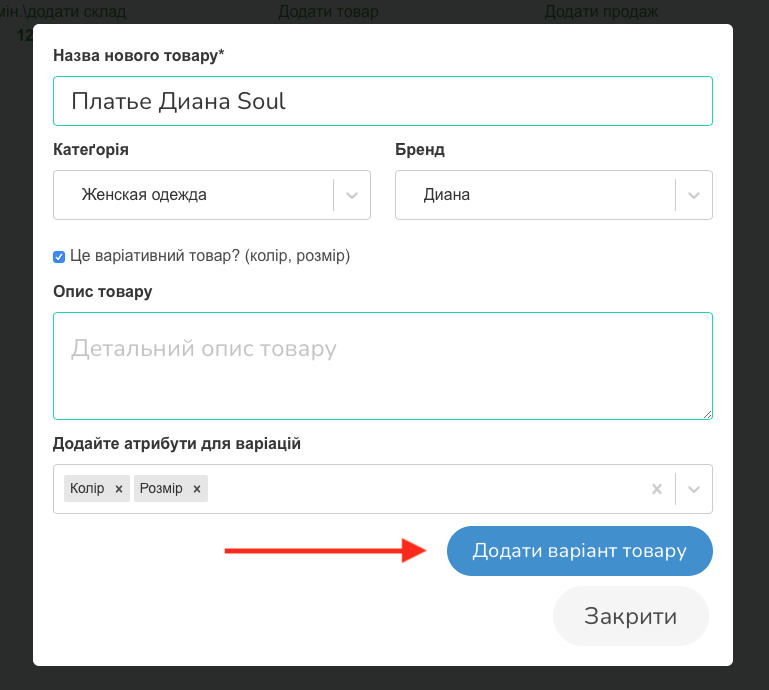
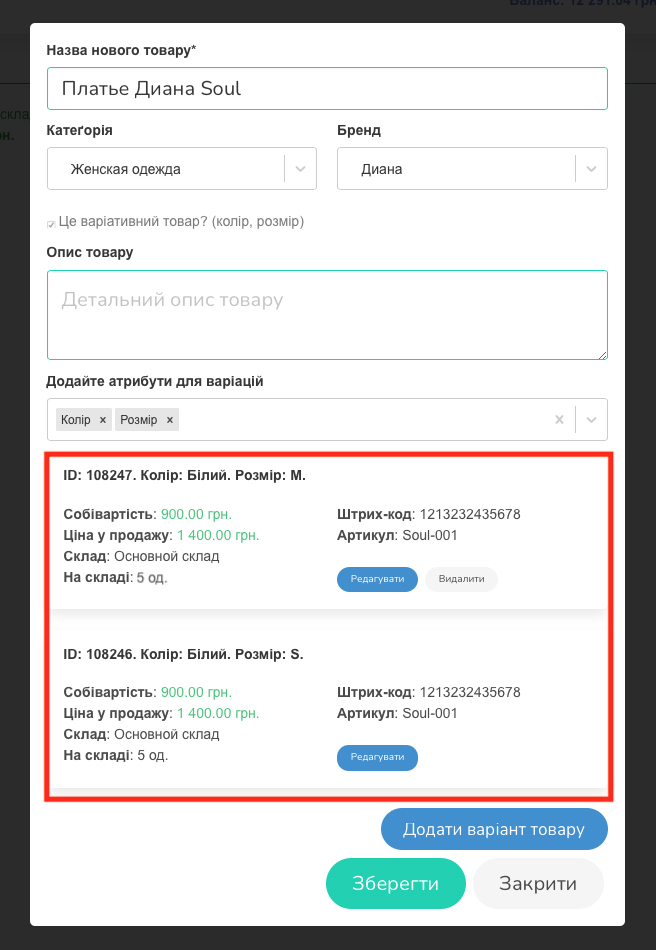
After you have added all the attributes you need, click the “Add product variant” button (Screen 4).
In the open window, you need to fill in all the fields you need and click “Add product variant” (Screen 5).

Create as many variations of your product as you need, then select “Save” (Screen 6).
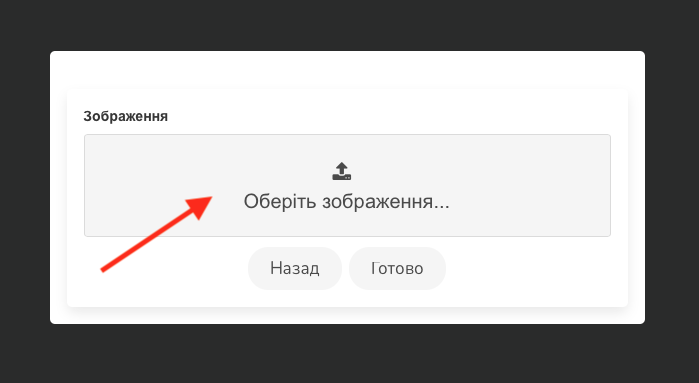
Next, a field for uploading product images will open. You can publish one or more photos or skip this option by clicking “Done” (Screen 7, 8).

As a result, in the “Products” section, you will have a table with a specific model of the product and all the data about it (Screen 9). Under the product itself, there are three active buttons: “Add sale”, “Info”, “Report” and “Delete”.