We will consider how to use the Production functionality using the example of making a women’s backpack-purse.
Step 1.
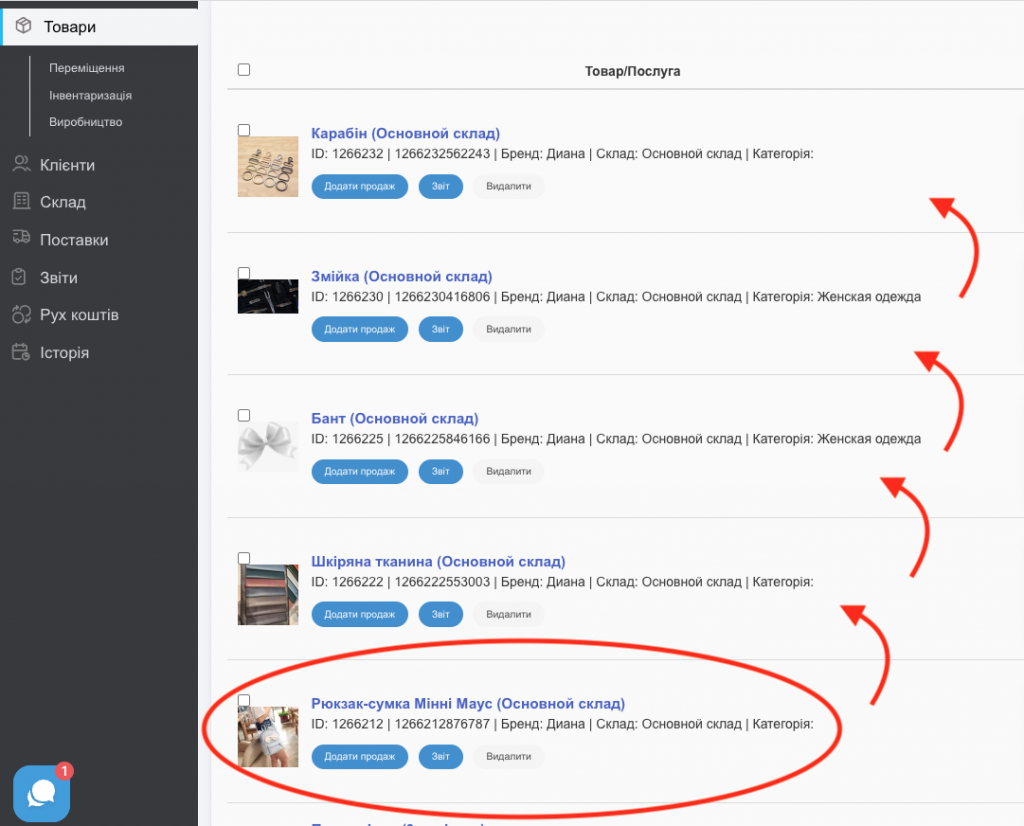
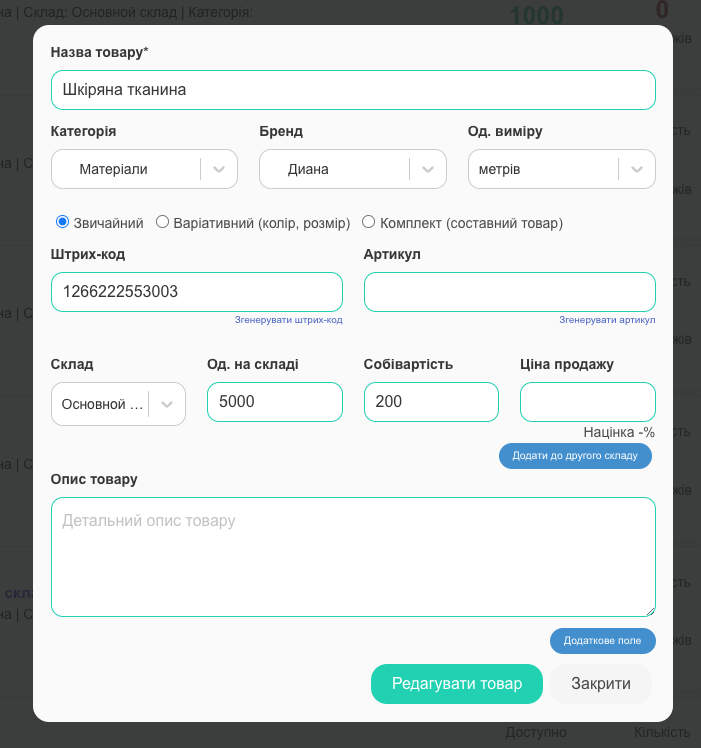
Before you start using the production function, you should pre-create the SELF-PRODUCED PRODUCT in the system (for us, it’s Minnie Mouse Backpack-Purse), as well as ALL COMPONENT MATERIALS (for us, it’s leather fabric, bow, zipper, carabiner) from which your product will be made up (Screen 1).
You can do this either through Order Processing by adding everything you need to it, or through the “Add Product” button, where you will need to fill out cards for the product you will be manufacturing, as well as all the components that your product will be made of (Screens 2, 3, 4).

Step 2.
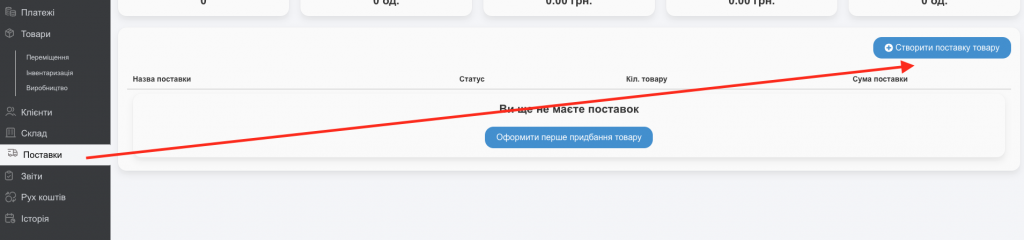
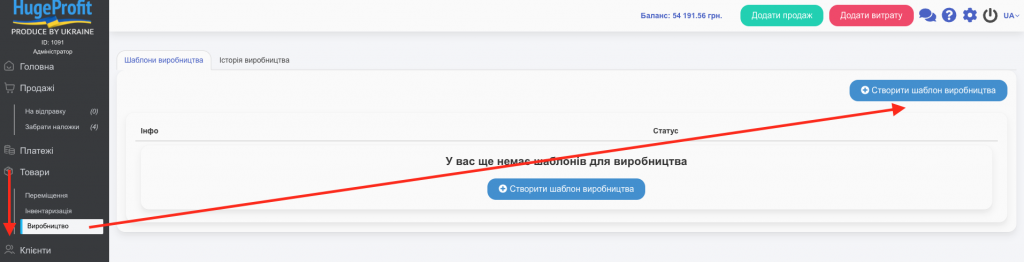
Next, go to Products – Production – Create a production template (Screen 5).
Step 2.
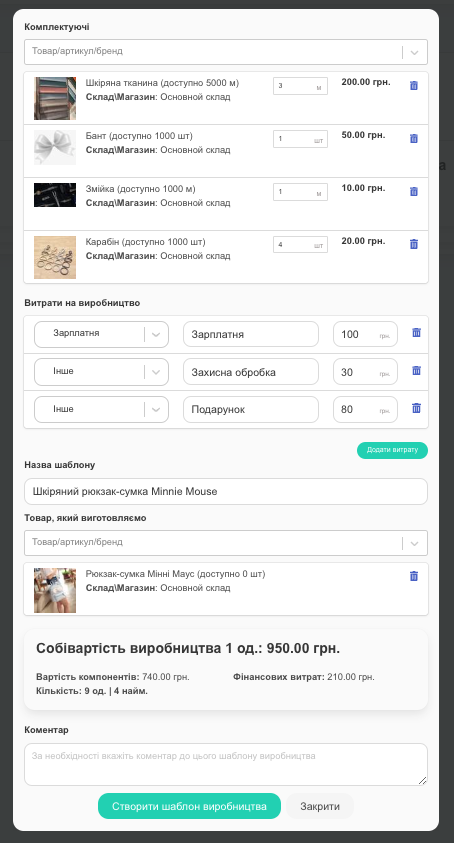
You will see a dialog box where you need to:
- Select the components of the product being manufactured (what it consists of);
- Give a name to your production template;
- Select the specific product you will be making;
- If necessary, add a comment;
- Specify additional costs during production (for example, how much you pay an employee for producing one unit of the product) (Screen 6).
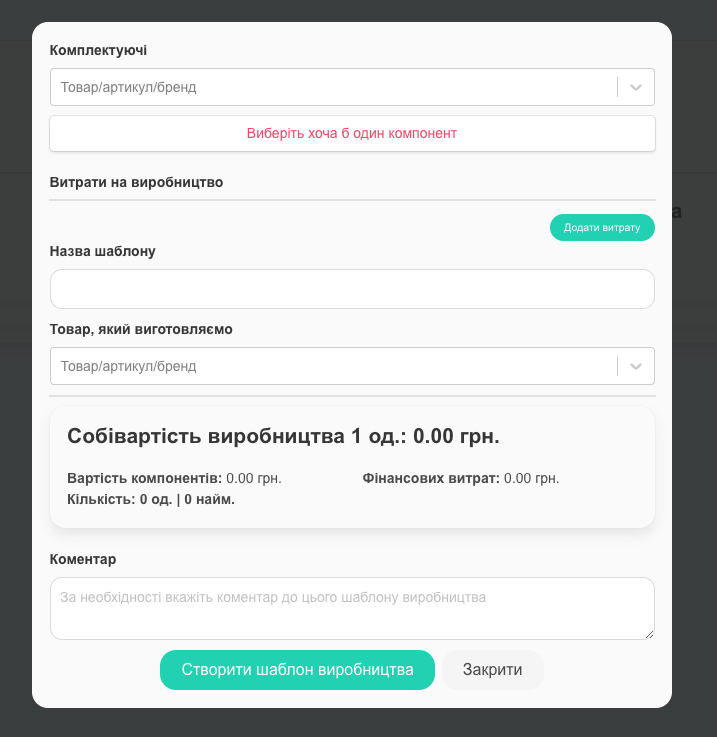
Once you have filled in all the necessary points, press “Create production template” (Screen 7).
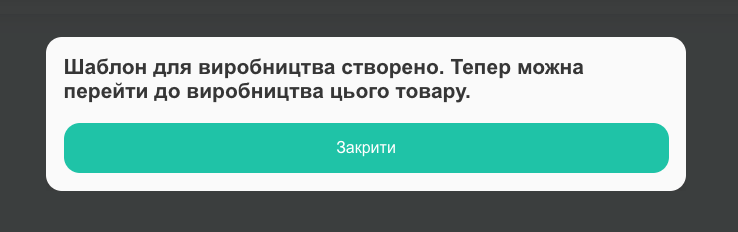
The production template has been created (Screen 8).
Step 3.
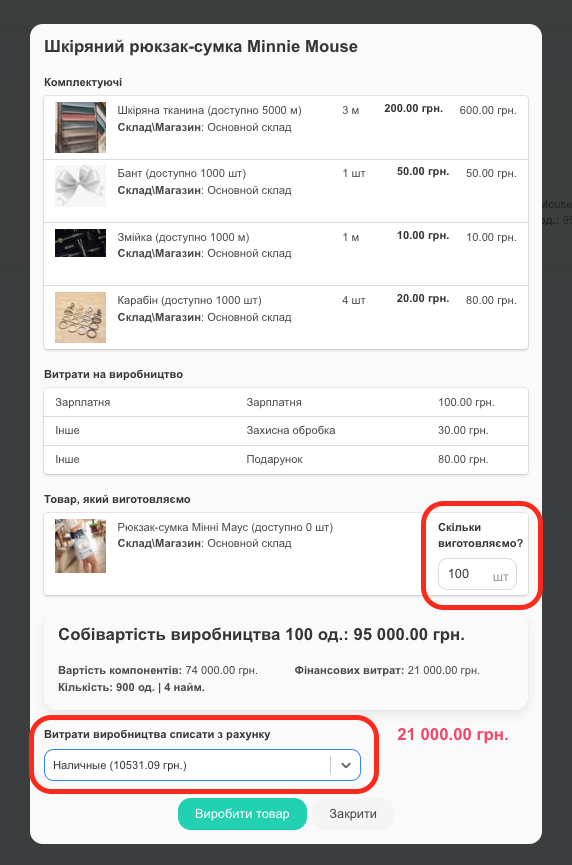
Go to the product manufacture (Screen 9).

Again, you will see a dialog box where you need to specify how many units of the product you plan to manufacture, as well as from which account to debit the expenses (Screen 10).
After you specify all the necessary points, press “Produce product” (Screen 10).
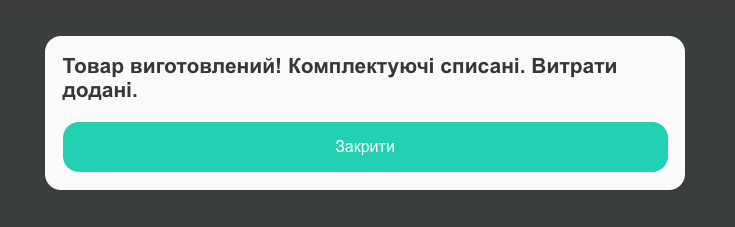
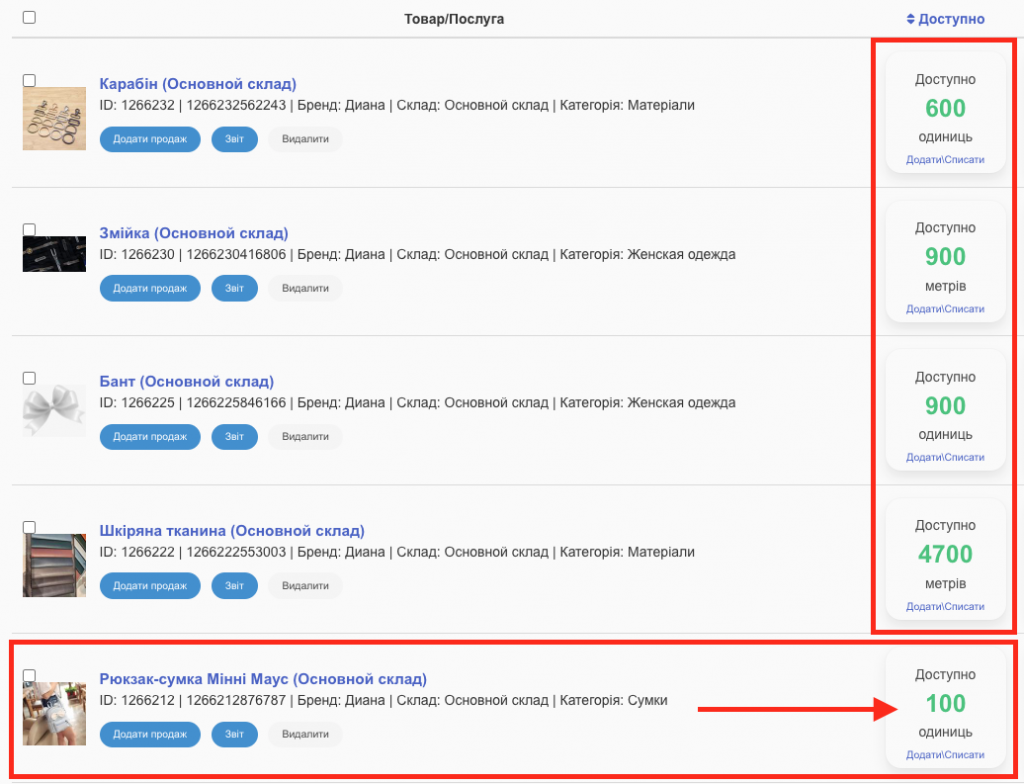
Product manufactured! You now have 100 units of the product, and all the components used have been deducted from your inventory (Screens 11, 12, 13).