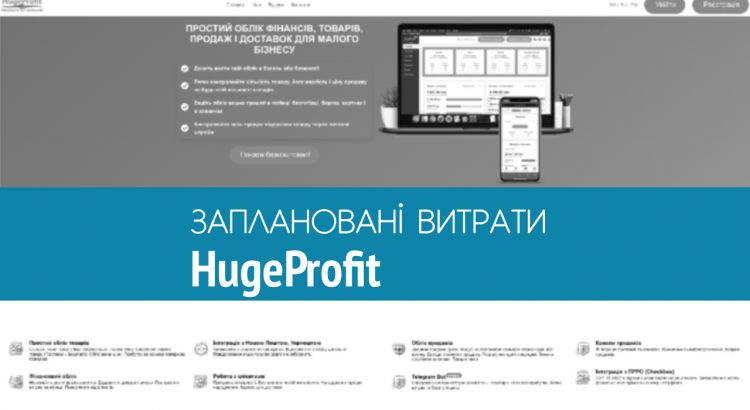
To schedule expenses, go to the “Payments” section, then click on the button at the top of the “Scheduled Expenses” page (Screen 1).

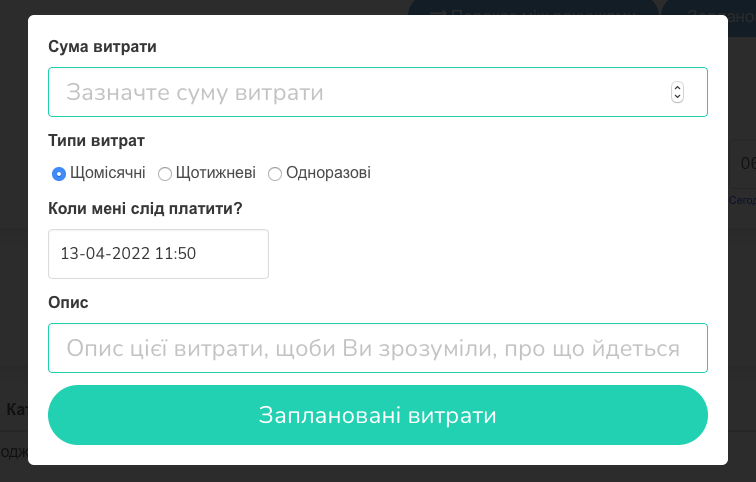
Fill in the fields:
- cost amount,
- type of expenses: monthly, weekly, one-time,
- when you need to pay (date),
- description (for example, for renting a room).
And click the “Plan expenses” button (Screen 2).
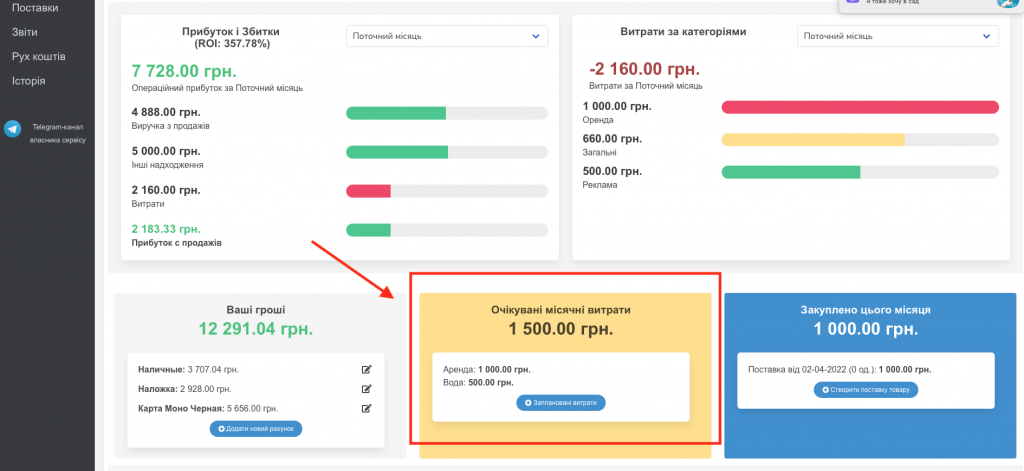
After that, the “Estimated monthly expenses” widget will appear on the main page of the site (Screen 3).
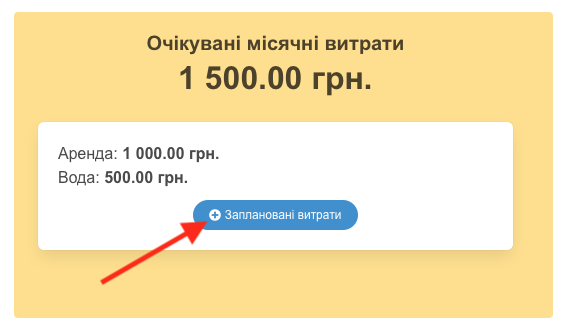
Importantly! To plan expenses in the future, you can not go to the “Payments” section, but click the “Planned expenses” button on the widget (Screen 4). In the future, all types of expenses (monthly, weekly and one-time) will be displayed in the widget field.
Learn more on the income and expense tracking page.