Step 1. Follow all the instructions provided on the Checkbox service until the “portal settings” section. After that, follow our steps. link
Step 2. After successfully installing the Checkbox software and connecting the terminal, go to the POS Terminal section in the settings. If you don’t have this section, enable it in the settings tab.

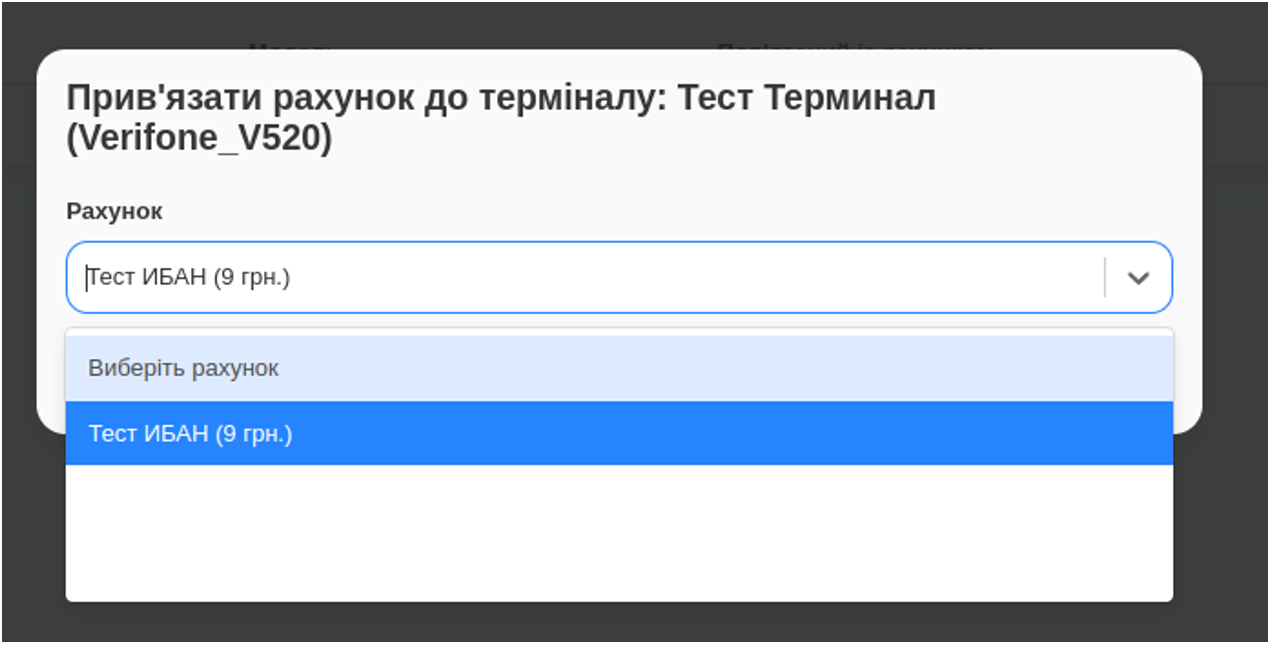
Step 3. Connect your account to the terminal by clicking the “edit” button and selecting the corresponding account. Only accounts with IBAN will be displayed in the account list. After this step, your account will be connected to the terminal, and you can start processing the sale.
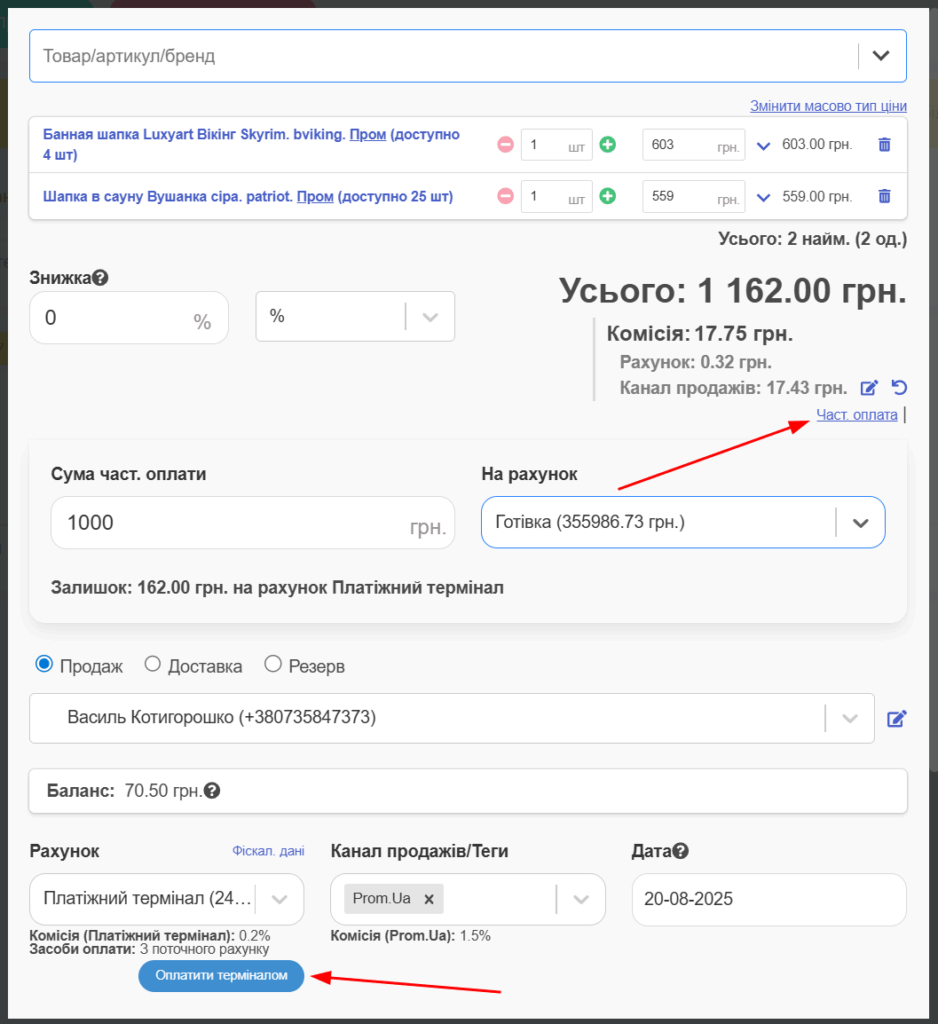
Step 4. Sales processing. If you have connected everything correctly, when selecting an account, the “Pay by terminal” button will appear, as well as the transaction RRN.
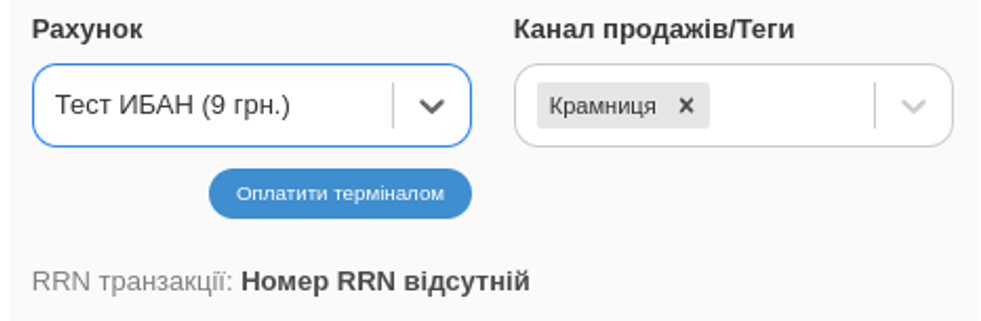
After clicking “Pay by terminal,” your amount will be automatically sent to the terminal and will be awaiting payment.
If the customer has not paid, after some time, an error will appear with the option to resend the amount to the terminal.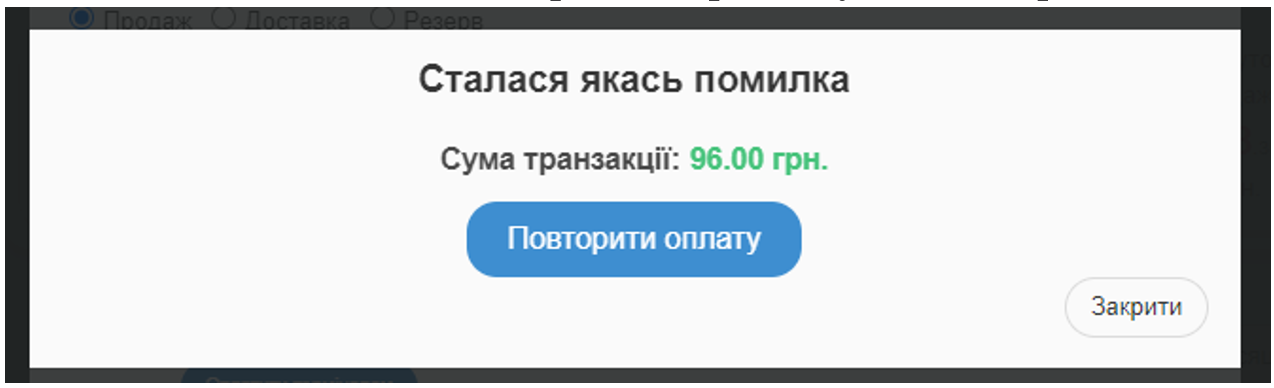
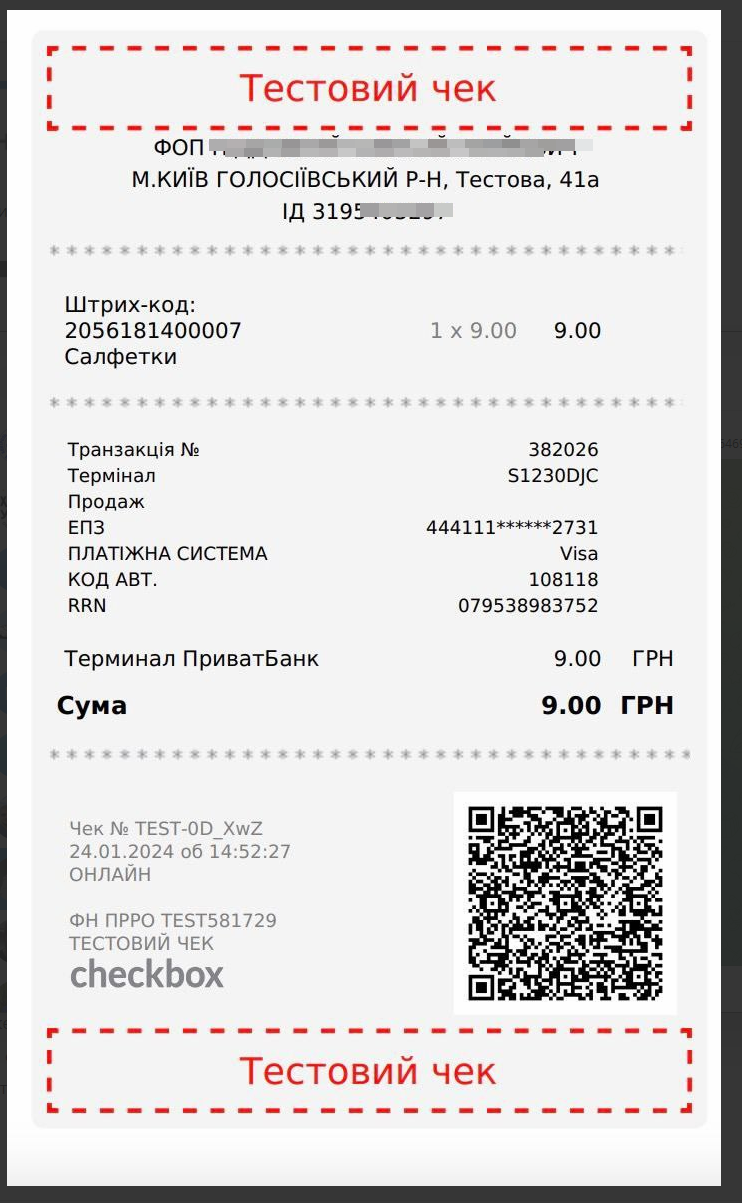
If everything is successful, the RRN transaction field will be filled with data and saved under the number in your sale, automatically fiscalizing.
On the POS Terminal page, in the settings section, in the “Transaction List” tab, you can view the sale data by clicking on the sale and navigating to it or by clicking on the transaction ID to view check information.
You can also view check data in the sale view section in the transaction ID field.
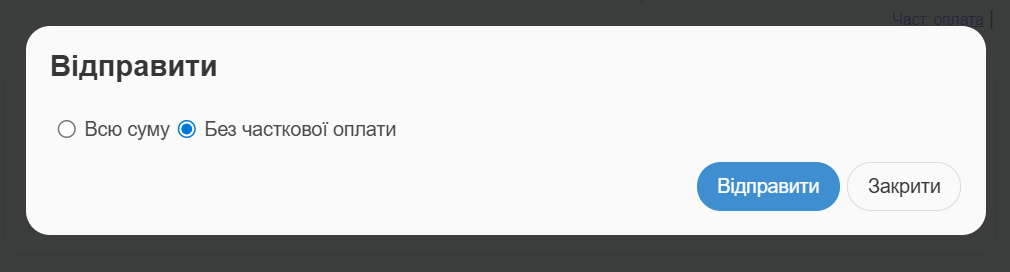
When a customer comes to pay the remaining amount for the order, there is an option to pay only part of the amount with the terminal. If you set partial payment in the sale and set the final invoice to an invoice that is tied to the terminal, then the Pay with Terminal button will also give the option to transfer to the terminal without partial payment: