
Logo, menu, footer, contacts, social links
The Settings section of the site editor controls everything that repeats on every page: the logo, header menu, and footer with contacts and social links. It also holds checkout payment and delivery methods and code-only access to the site.
Open Edit website → Settings. After making changes, click Save draft, check them with Preview draft →, and click Publish.
Brand: name, logo, tab icon
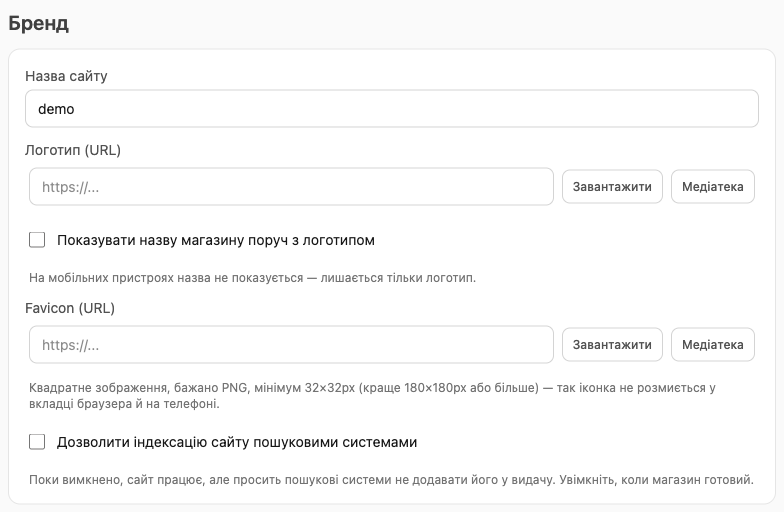
- Site name appears in the header (if there's no logo) and in the browser tab title.
- Logo (URL): click Upload (file up to 4 MB: JPG, PNG, WebP, GIF), open the Media library (images you uploaded before), or paste an image link. When there's a logo, it's shown instead of the name.
- Logo size: Small, Medium (default), or Large. It changes the logo height in both the header and the footer: about 24, 32, and 48 px. The width adjusts automatically, so proportions stay intact.
- Show store name next to the logo puts the logo and the name side by side. On phones, the name is hidden and only the logo shows.
- Favicon (URL) is the icon in the browser tab and on the phone screen. Use a square image, ideally a PNG of 180×180 px or larger.
- Allow search engines to index this site: see the SEO article. Turn it on when your store is ready.
💡 Upload your logo with a transparent background (PNG) and in good quality, so it looks sharp on any header color. If the logo looks too small, choose Large in the “Logo size” field. Crop any extra empty space around the logo in the image itself, or it will look smaller than it is.
Header and footer color
Site's primary color makes the header and footer your brand color (from the Theme section). Not primary (neutral background) makes them the page background color, as in the examples in this article.
Header menu
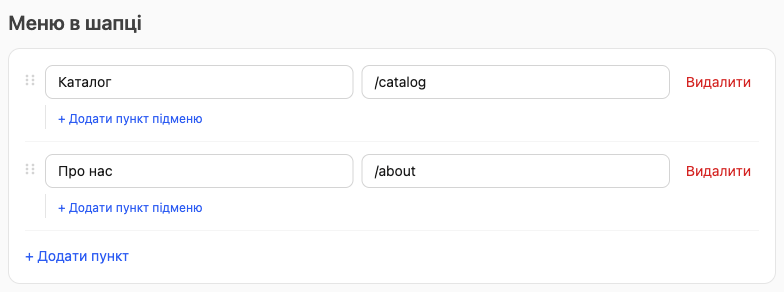
- Click + Add item.
- Enter the item name on the left and the link on the right.
- To make a dropdown submenu, click + Add submenu item under the item you need.
- Drag items by the ⠿ handle on the left to reorder them. To remove an item, click Delete.
Which links you can use
| Link | Where it leads |
|---|---|
/catalog | Catalog of all products. This item automatically becomes a category menu (see below) |
/about | The “About” page |
/dostavka | Your page with the address dostavka (you can see the address in the Pages section) |
/category/123 | A specific category (the number is in the category's address on the site) |
/product/456 | A specific product |
https://instagram.com/… | Any external site: enter the full address, with https:// |
Category menu
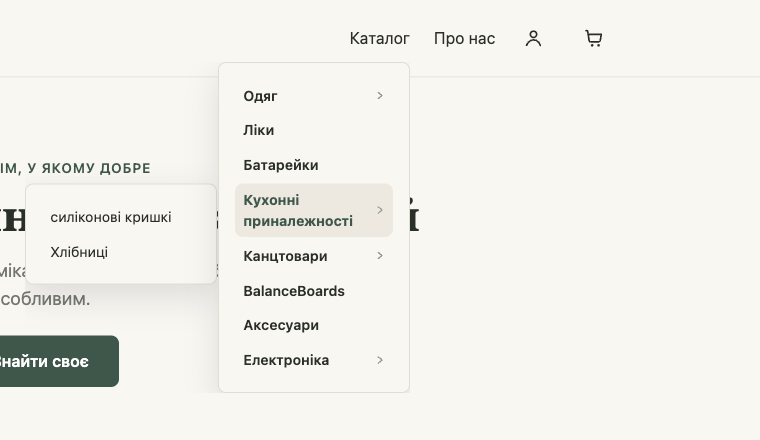
On a computer, the item linked to /catalog opens a dropdown on hover with all enabled categories and subcategories. On a phone, it shows the category list in the burger menu. You don't need to set it up separately: categories come from HugeProfit.
Keep header pinned to top while scrolling keeps the header visible as the customer scrolls the page. If there are too many items to fit across the header, the menu automatically collapses into a burger button.
Footer: menu, columns, contacts
- Footer menu: links in the footer, set up the same way as the header menu. You can add a Menu column title.
- Extra footer columns → + Add column: a column title and a list of links. For example, a “For customers” column with “Shipping and payment”, “Returns”, and “Contacts” links.
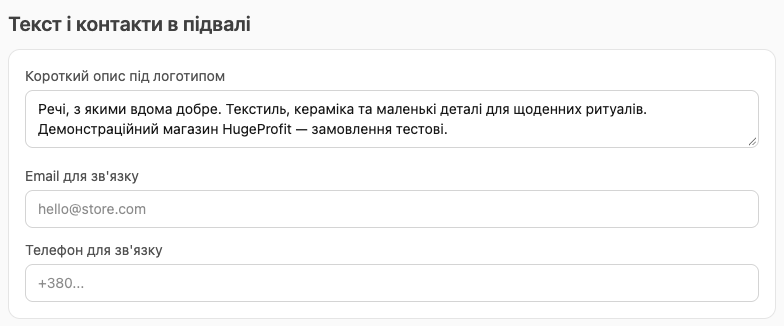
- Footer text & contacts: Short blurb under the logo, Contact email, Contact phone. A Contacts block appears in the footer. The phone and email are clickable, so customers can call straight from their phone.


Social links
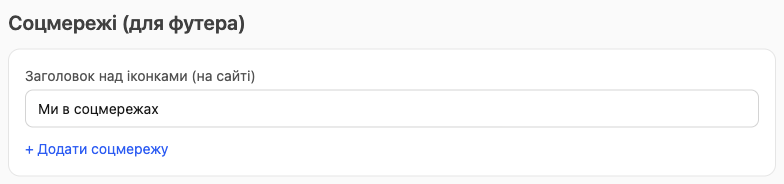
- In the Social links (for footer) section, click + Add social link.
- Choose the network and paste the full link, for example
https://instagram.com/myshop. - Optionally, change the Heading above the icons (default: “Follow us”).
⚠️ If you see the error “Invalid link for… A full address is required”, add https:// at the beginning.
Payment and delivery methods
This same section is where you set up Payment methods (at checkout) and Delivery methods (at checkout): pickup, local delivery, nationwide and international shipping, and your own methods. For details, see Payment and Delivery and cash on delivery.
💡 The When an item runs out at checkout setting has moved to the Products tab of the editor, along with Show remaining stock quantity. Both are covered in Products on the site.
Access protection
At the bottom of the section is the Access protection block. The Lock the site — access by code only checkbox closes your store to outsiders: only people you gave a code or a personal link can see the site. It works for wholesale clients, a private club, or showing the site before the official launch. To create codes and design the entry screen, see Private store: access codes.